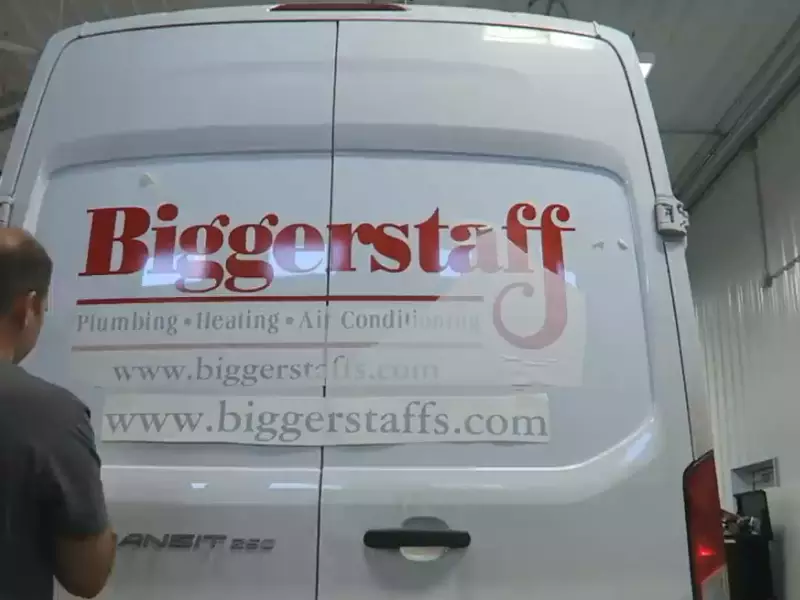
To install vinyl lettering on a vehicle, clean the surface thoroughly and position the lettering in the desired location. Then remove the backing paper and press the lettering firmly into place, smoothing out any bubbles or wrinkles.
Finally, remove the application tape, and your vinyl lettering is installed and ready to go. When it comes to personalizing your vehicle, vinyl lettering is a popular and cost-effective option. Whether you want to display a catchy phrase, advertise your business, or add a touch of personalization, vinyl lettering offers a versatile solution.
However, installing vinyl lettering may seem daunting if you’re not familiar with the process. In this guide, we’ll take you through the steps on how to install vinyl lettering on your vehicle, ensuring a professional and long-lasting result. So, let’s dive in and get your vehicle looking sharp with vinyl lettering!
Gather Materials
Before starting the installation process, it’s important to gather all the necessary materials. Having everything on hand will help ensure a smooth and efficient installation.
Here are the materials you’ll need:
Vinyl lettering
The first and most obvious material you’ll need is the vinyl lettering itself. Vinyl lettering provides a great and inexpensive way to customize your vehicle. It comes in a variety of colors, fonts, and sizes, allowing you to create a unique design that suits your style and personality. Make sure to order the lettering in the right size and color scheme that you desire for your vehicle.
Clean cloth
Having a clean cloth is crucial for the installation process. Before applying the vinyl lettering, you’ll need to clean the surface of your vehicle thoroughly. This ensures that there are no dust particles or dirt that may interfere with the adhesion of the lettering. A clean cloth will help remove any residue and make sure the surface is as smooth as possible.
Isopropyl alcohol
Isopropyl alcohol is important for the cleaning process. It’s a mild solvent that helps to remove any grease or wax that may be present on the surface of your vehicle. Applying isopropyl alcohol to the cleaned surface will ensure that the lettering adheres properly and stays in place for a long-lasting finish. You can easily find isopropyl alcohol at your local hardware or pharmacy store.
Squeegee or credit card
A squeegee or credit card is an essential tool for the installation process. It helps to smooth out any air bubbles or wrinkles that may occur when applying the vinyl lettering. Using a squeegee or credit card will ensure a professional and seamless look, without any imperfections. Make sure the squeegee or credit card is clean and free from any abrasive materials that could potentially damage the lettering.
Masking tape
Masking tape is useful for precise alignment of the vinyl lettering. It helps to hold the lettering in place temporarily, making it easier to position and adjust before the final application. Masking tape is easy to remove without leaving any residue behind, so you don’t have to worry about damaging your vehicle’s paintwork.
Scissors or a utility knife
To trim the vinyl lettering to the desired size and shape, you’ll need a pair of scissors or a utility knife. Use these tools carefully and ensure they are sharp for clean and precise cuts. It’s important to measure and trim the vinyl lettering accurately to match the contours and proportions of your vehicle.
Measuring tape or ruler
Lastly, having a measuring tape or ruler on hand is helpful for ensuring the vinyl lettering is applied in the correct position. This ensures that the lettering is straight and aligned with other elements on your vehicle. Using a measuring tape or ruler will help you achieve a professional and aesthetically pleasing result.
Prepare The Vehicle Surface
When it comes to installing vinyl lettering on a vehicle, proper preparation is crucial. Prepping the vehicle surface ensures that the adhesive backing of the vinyl lettering adheres securely, resulting in a clean and professional-looking finish. In this section, we will walk you through the steps to prepare your vehicle surface for vinyl lettering installation.
Wash and dry the surface of the vehicle:
The first step in preparing your vehicle surface is to give it a good wash. By removing any dirt, dust, or grime, you create a clean canvas for the vinyl lettering to adhere to. Here’s how to do it:
- First, gather your materials: a bucket of warm water, car wash soap, a sponge or soft cloth, and a hose.
- Dilute the car wash soap in the bucket of warm water according to the instructions on the bottle.
- Using the sponge or soft cloth, lather up the vehicle surface, working from top to bottom.
- Rinse off the soap using the hose, ensuring all suds are removed.
- Dry the surface thoroughly using a clean microfiber cloth.
Clean the surface with isopropyl alcohol:
After washing and drying the vehicle surface, it’s important to further clean it using isopropyl alcohol. This step removes any residual wax, grease, or other contaminants that may hinder the adhesive bonding. Follow these steps:
- Prepare a solution of isopropyl alcohol by mixing it with water in a spray bottle.
- Spray the solution onto a clean, lint-free cloth.
- Gently wipe the vehicle surface with the cloth, ensuring all areas are covered.
- Allow the surface to air dry completely.
Use masking tape to outline the area for the vinyl lettering:
Now that the vehicle surface is clean and free from contaminants, it’s time to outline the area where the vinyl lettering will be applied. The masking tape provides a visual guide, making it easier to position the lettering accurately. Follow these steps:
- Measure and mark the desired placement of the vinyl lettering using a tape measure and a pencil.
- Carefully apply the masking tape along the marked lines, creating an outline of the area.
- Ensure that the edges of the masking tape are firmly pressed down to prevent any seepage underneath.
By following these steps to prepare the vehicle surface, you are now ready to move on to the next stage of vinyl lettering installation. Stay tuned for our next section on applying the vinyl lettering with precision and care.
Measure And Position The Lettering
Installing vinyl lettering on a vehicle is a cost-effective way to personalize your car, truck, or van. Whether you want to display your business logo or add a touch of creativity to your vehicle, vinyl lettering is a versatile and durable choice. In this section, we’ll guide you through the process of measuring and positioning the lettering to ensure a perfect fit.
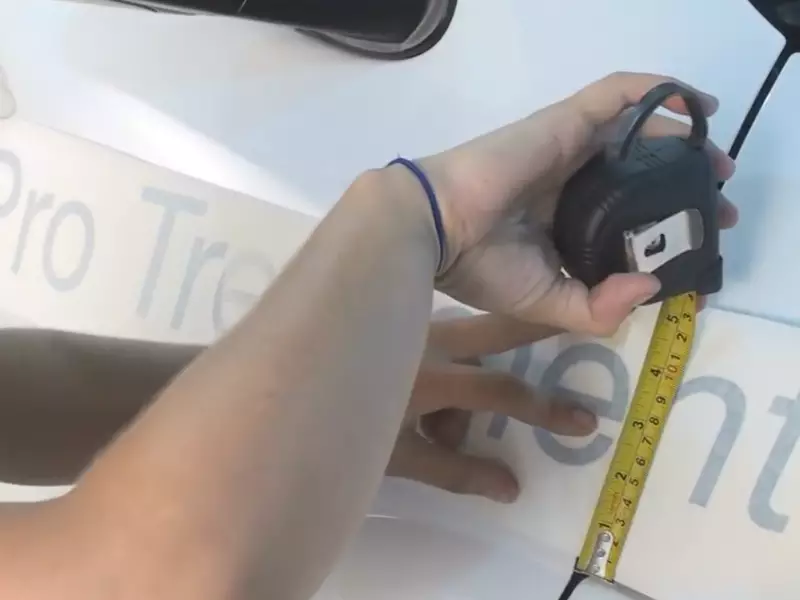
Measure the area for the vinyl lettering
The first step in installing vinyl lettering on your vehicle is to measure the area where you plan to apply it. Grab a measuring tape and carefully measure the height and width of the space. Make sure to account for any curves or contours on the surface, as accurate measurements are crucial for a professional-looking finish.
Determine the desired placement and layout
Once you have measured the area, it’s time to determine the desired placement and layout of your vinyl lettering. Think about the message you want to convey and the design elements that will complement the overall look of your vehicle. Consider factors such as visibility, readability, and aesthetics.
If you’re using vinyl lettering for business purposes, you may want to place it on the doors or windows where it can be easily seen by potential customers. On the other hand, if you’re going for a more decorative look, you can get creative with the placement and choose areas that enhance the overall design of your vehicle.
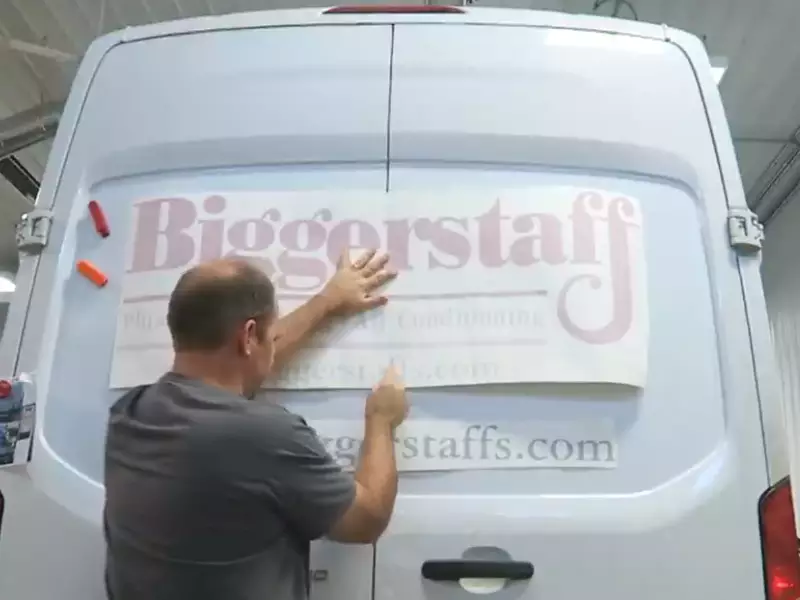
Use masking tape or measured marks to guide positioning
Now it’s time to position the vinyl lettering on your vehicle. To ensure accuracy and avoid any mistakes, use masking tape or measured marks to guide the positioning. Start by placing the lettering on the surface without removing the backing paper. Use the tape or marks to try different placements and make adjustments until you’re satisfied with the positioning.
Once you’re happy with the placement, you can begin removing the backing paper from one end of the vinyl lettering. Slowly and carefully press the exposed part onto the vehicle surface, working your way across while removing the rest of the backing paper. Use a squeegee or your fingers to smooth out any bubbles or wrinkles as you go.
Repeat the process for each section of the vinyl lettering until the entire design is affixed to the vehicle. Take your time to ensure each letter and element adheres properly, as this will contribute to the longevity and overall appearance of your vinyl lettering.
With careful measuring and precise positioning, you can easily install vinyl lettering on your vehicle and enjoy a personalized and professional look. Now that you know how to measure and position the lettering, you’re all set to create a unique design that will make your vehicle stand out!
Apply The Vinyl Lettering
To give your vehicle a personalized touch, applying vinyl lettering is a great option. Whether you’re showcasing your business or adding a creative touch, installing vinyl lettering on your vehicle can be a simple and effective way to make a statement. Follow these steps to ensure a professional-looking application.
Peel off the backing of the vinyl lettering
Before you can apply the vinyl lettering to your vehicle, start by peeling off the backing. Take caution while doing this to avoid any damage to the lettering or accidentally sticking it to the wrong surface. It is recommended to take your time and peel off the backing inch by inch, ensuring that the adhesive side of the lettering remains untouched.
Align the lettering with the guide marks
Once the backing is removed, align the lettering with the guide marks you have previously placed on your vehicle. These marks will help you position the lettering accurately, ensuring a neat and straight application. Take the time to double-check the alignment before proceeding to the next step.
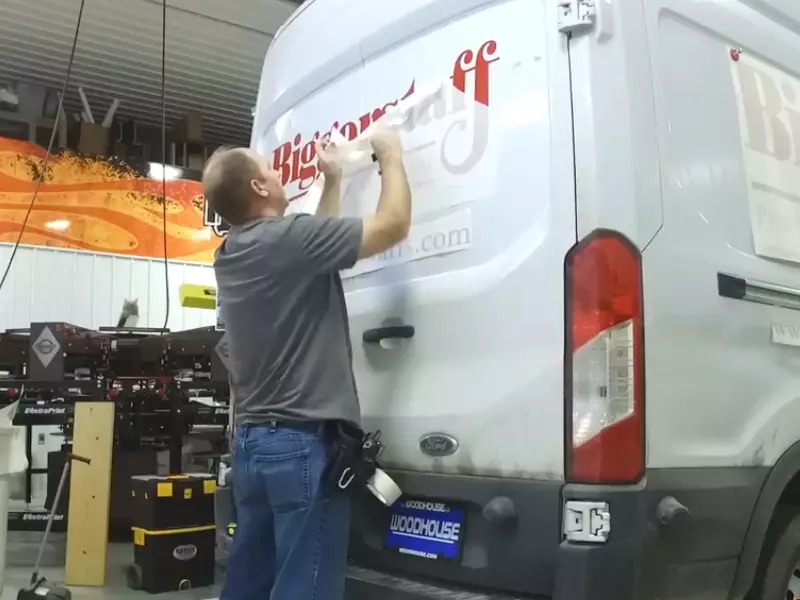
Press down the vinyl lettering from one end to the other
To secure the vinyl lettering in place, start by pressing down one end of the lettering and gradually work your way towards the other end. Apply firm but gentle pressure, ensuring that the entire lettering adheres smoothly to the surface of your vehicle. Take your time during this step to avoid any air bubbles or misalignment.
Use a squeegee or credit card to remove any air bubbles and ensure adhesion
To achieve a professional finish, use a squeegee or credit card to carefully remove any air bubbles that may have formed under the vinyl lettering. Start from the center and work your way outwards, smoothing the lettering against the vehicle’s surface. This step not only removes bubbles but also helps in ensuring a strong and lasting adhesion.
By following these simple steps, you can easily apply vinyl lettering to your vehicle. Just remember to take your time, align the lettering properly, and smooth out any air bubbles. With a little effort and attention to detail, your vehicle will showcase the vinyl lettering in the best possible way.
Remove The Transfer Tape
Gently peel off the transfer tape from the vinyl lettering
Now comes the exciting part – removing the transfer tape from the vinyl lettering! This step requires a delicate touch to ensure that the lettering stays firmly on the vehicle while the tape is being peeled off.
To start, locate a corner of the transfer tape where the vinyl lettering begins. Using your fingertips, gently grasp the edge of the tape and start to peel it away from the surface of the vehicle. Be sure to pull at a 180-degree angle, instead of lifting the tape straight up. This technique will minimize the risk of the lettering coming off along with the tape.
As you continue to peel off the transfer tape, move with a slow, steady motion. Keep your gaze focused on the tape as you go, checking to ensure that the vinyl lettering remains in place. In case you notice any signs of lifting or peeling, smooth it back down with your fingertips and continue at a slower pace.
Remember, patience is key when removing the transfer tape. It’s essential to take your time and use gentle pressure to avoid any accidental damage to the vinyl lettering. Rushing this step may result in a less polished look, so ensure you give it the attention it deserves.
Finishing Touches
When it comes to installing vinyl lettering on a vehicle, the finishing touches are crucial. These final steps ensure that your lettering looks professional and seamless, giving your vehicle that extra touch of style. In this section, we will discuss two important finishing touches: smoothing out any remaining air bubbles or wrinkles, and trimming any excess vinyl. Let’s dive in!
Smooth out any remaining air bubbles or wrinkles
After applying the vinyl lettering to your vehicle, you may notice some air bubbles or wrinkles on the surface. Don’t worry, this is common and easily fixable. Here’s how you can smooth out any imperfections:
- Start by pressing down on the vinyl lettering gently with your hand, working from the center outwards. This will help push out any trapped air and flatten out any wrinkles.
- If there are still visible air bubbles or wrinkles, you can use a soft squeegee or a credit card wrapped in a soft cloth to gently smooth them out.
- Using a firm yet gentle motion, work from the center of the lettering toward the edges, applying even pressure as you go. Be careful not to press too hard, as it can damage the vinyl.
- Continue working in this manner until all the air bubbles and wrinkles have been smoothed out.
Trim any excess vinyl with scissors or a utility knife
Once you’ve smoothed out the lettering, it’s time to trim any excess vinyl for a clean and polished look. Follow these steps to trim the vinyl:
- Using a pair of sharp scissors or a utility knife, carefully trim off any excess vinyl around the edges of the lettering. Take your time and make precise cuts to ensure a neat finish.
- Be sure to leave a small overlap of vinyl at the corners to prevent premature peeling or lifting.
- If there are intricate curves or corners, you can make small relief cuts to help the vinyl conform to the shape of the vehicle more easily.
- After trimming, go over the entire lettering one more time with your hand or a squeegee to ensure it is securely adhered to the vehicle.
And there you have it, the finishing touches for installing vinyl lettering on a vehicle. By following these steps to smooth out any remaining air bubbles or wrinkles, and carefully trimming any excess vinyl, your lettering will look professional and flawless. Take your time and pay attention to the details, and you’ll have sleek and eye-catching lettering on your vehicle in no time!
Maintain And Care For The Vinyl Lettering
Avoid harsh chemicals and abrasive materials when cleaning
To maintain the longevity and appearance of your vinyl lettering, it is crucial to avoid using harsh chemicals and abrasive materials during the cleaning process. These can damage the vinyl and cause it to peel or fade prematurely. When cleaning your vehicle with vinyl lettering, opt for mild, non-abrasive cleaners specifically formulated for use on vinyl surfaces. These cleaners are typically gentle enough to remove dirt and grime without causing any harm to the lettering.
Clean the lettering regularly to prevent dirt buildup
To prevent dirt and debris from accumulating on your vinyl lettering, it is recommended to clean it regularly. Regular cleaning not only keeps your lettering looking fresh and vibrant but also helps to extend its lifespan. Start by rinsing the lettering with water to remove loose dirt particles. Then, using a soft cloth or sponge, gently scrub the lettering with a mild soap and water solution. Rinse thoroughly to remove any soap residue, and dry the lettering with a clean, lint-free cloth.
Check for any signs of peeling or damage and address promptly
Regular inspections of your vinyl lettering are essential to catch any signs of peeling or damage early on. Over time, exposure to the elements and everyday wear and tear can cause the lettering to lift or become damaged. If you notice any peeling edges or rips in the lettering, it is crucial to address them promptly. Use a hairdryer set on low heat to gently warm the affected area, and then press down firmly to re-adhere the vinyl. For larger damages or extensive peeling, it may be necessary to replace the lettering altogether.
To ensure your vehicle’s vinyl lettering remains in optimal condition, it is important to follow these maintenance and care tips. By avoiding harsh chemicals and abrasive materials when cleaning, cleaning the lettering regularly to prevent dirt buildup, and promptly addressing any signs of peeling or damage, you can enjoy the longevity and vibrant appearance of your vinyl lettering for years to come.
Frequently Asked Questions Of How To Install Vinyl Lettering On A Vehicle
How Do You Apply Vinyl Decals To A Car?
To apply vinyl decals to a car, follow these steps:
- Clean the surface thoroughly.
- Peel off the backing of the vinyl decal.
- Apply the decal onto the car, starting from one edge and smoothing it out.
- Use a squeegee to remove any air bubbles.
- Let it dry and set for 24 hours before washing your car.
Is It Better To Apply Decals Wet Or Dry?
It is better to apply decals wet for a smoother and bubble-free finish.
Can You Use Soapy Water To Apply Vinyl Decals?
Yes, you can use soapy water to apply vinyl decals.
Do You Apply Vinyl Wet Or Dry?
Vinyl application is typically done dry, without any moisture.
Conclusion
To summarize, installing vinyl lettering on a vehicle is a simple yet effective way to enhance its appearance and promote your business or personal style. By following the step-by-step instructions outlined in this guide, you can achieve professional results without the need for professional help.
Remember to thoroughly clean and measure the surface, apply the vinyl carefully, and smooth out any air bubbles. With a little patience and attention to detail, you’ll have eye-catching vinyl lettering that will withstand the test of time. So, get creative and start showcasing your unique design on your vehicle today!