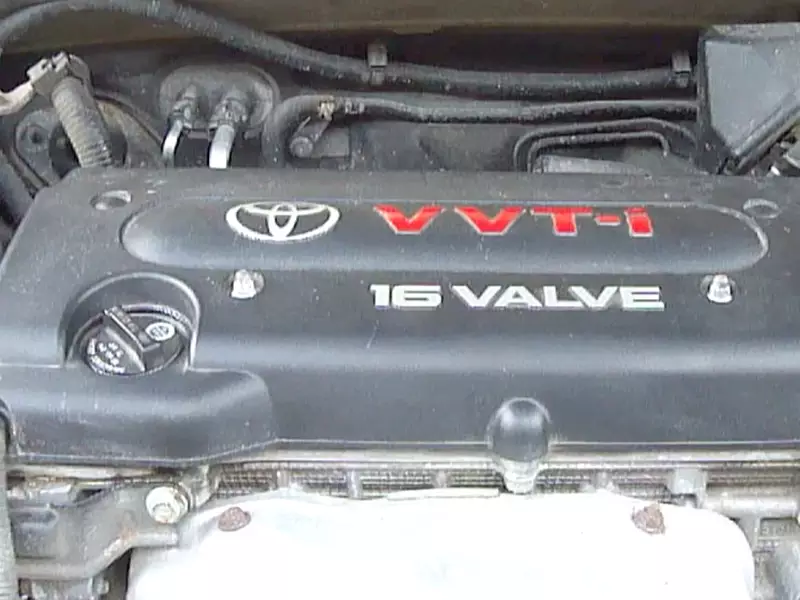
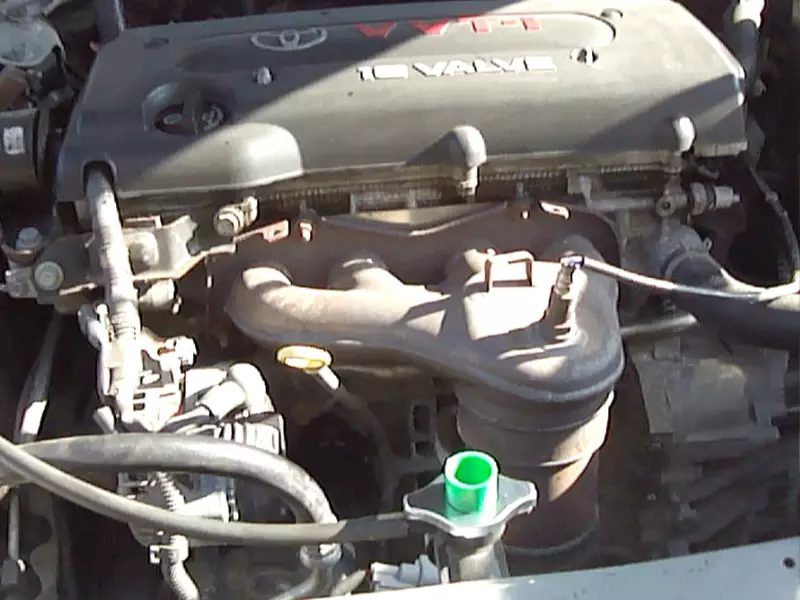
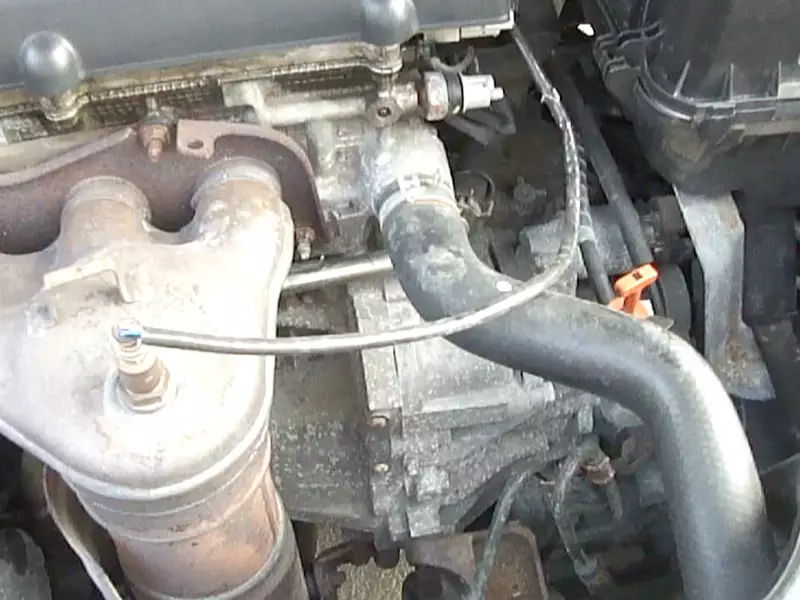
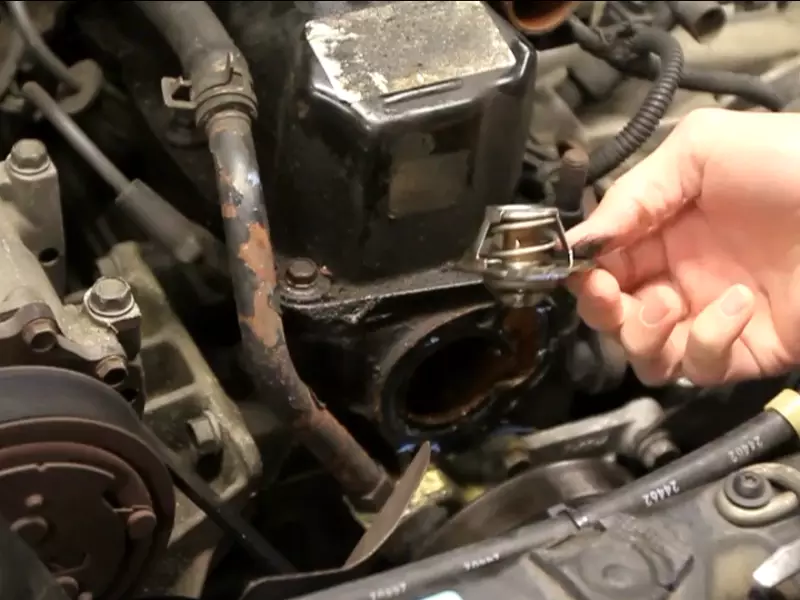
To install a thermostat in a car, follow these steps: disconnect the negative battery cable, locate the thermostat housing, remove the old thermostat, clean the housing surface, install the new thermostat, and reconnect the battery cable. Installing a thermostat in your car is a relatively simple process that can help maintain the engine’s temperature and prevent overheating issues.
By following these steps, you can ensure that your car’s cooling system functions properly and continues to operate efficiently. Whether you’re a seasoned mechanic or a DIYer, installing a thermostat in your car is an essential skill to have for maintaining your vehicle’s performance.
Choosing The Right Thermostat For Your Car
When it comes to maintaining proper engine temperature and ensuring optimal performance, installing the right thermostat in your car is crucial. A thermostat regulates the flow of coolant to maintain the engine at its ideal operating temperature. With so many options available, it’s important to understand the factors to consider when selecting a thermostat for your car.
By considering compatibility with your car’s make and model, as well as understanding the different types of thermostats available, you can make an informed decision that will keep your engine running smoothly.

Factors to consider when selecting a thermostat
Before you start the process of choosing a thermostat for your car, it’s important to take into account a few key factors. These factors will help you narrow down your options and find the perfect fit for your vehicle.
- Compatibility with your car’s make and model
- Understanding the different types of thermostats available
- Ease of installation
- Temperature range and accuracy
- Reliability and durability
Compatibility with your car’s make and model
One of the most important factors to consider when selecting a thermostat for your car is its compatibility with your car’s make and model. Each car has specific requirements, and using the wrong thermostat can lead to poor performance and potential engine damage. Before making a decision, consult your car’s manual or do some research to ensure that the thermostat you choose is designed for your vehicle.
Understanding the different types of thermostats available
There are several types of thermostats available, and understanding their differences is essential in making the right choice for your car. The three most common types of thermostats are mechanical thermostats, electronic thermostats, and wax thermostats.
| Type of Thermostat | Description |
|---|---|
| Mechanical Thermostat | A simple and reliable design that uses a metal spring to control the flow of coolant. |
| Electronic Thermostat | Uses electronic sensors to monitor engine temperature and adjust coolant flow accordingly. |
| Wax Thermostat | Contains a wax-like substance that expands and contracts with temperature changes, regulating coolant flow. |
Each type of thermostat has its own advantages and disadvantages, so it’s important to consider your specific needs and preferences when choosing the right one for your car.
Preparing For The Installation Process
Before diving into the process of installing a thermostat in your car, it’s important to make the necessary preparations. By gathering the necessary tools and materials, ensuring the car is parked in a safe and well-ventilated area, and disconnecting the car’s battery for safety precautions, you can streamline the installation process and ensure a successful outcome.
Gathering the necessary tools and materials
To install a thermostat in your car, you’ll need to gather a few tools and materials. Here’s a list of what you will require:
| 1. Socket set |
| 2. Screwdriver |
| 3. Replacement thermostat |
| 4. Gasket sealant |
| 5. Clean rags |
| 6. Coolant |
Ensuring the car is parked in a safe and well-ventilated area
Prior to starting the installation process, park your car in a safe and well-ventilated area. This will ensure that you have enough space to work comfortably and that there is proper ventilation to prevent any fumes or odors from accumulating. A driveway or a well-lit garage with good airflow would be ideal.
Disconnecting the car’s battery for safety precautions
For safety purposes, it is crucial to disconnect the car’s battery before beginning the installation process. This will prevent any accidental electrical shock or damage to the car’s systems. To disconnect the battery, follow these steps:
- Locate the car’s battery, usually found under the hood or in the trunk.
- Using a socket set, loosen the bolts on the negative (black) terminal cable.
- Once the negative cable is loose, disconnect it from the battery.
- Secure the disconnected negative cable away from the battery to avoid accidental reconnection.
By adhering to these safety precautions, you’ll ensure a smooth and worry-free installation process for the thermostat in your car.

Removing The Old Thermostat
Removing the old thermostat is an essential step when installing a new thermostat in your car. This process involves locating the thermostat housing, draining the coolant, and removing the bolts or clips securing the old thermostat. Here’s a step-by-step guide on how to remove the old thermostat in your car.
Locating the thermostat housing in the car’s engine
The first step in removing the old thermostat is to locate the thermostat housing in your car’s engine. The thermostat housing is usually located near the top of the engine, attached to the engine block. It may be covered by a plastic or metal housing that you’ll need to remove to access the thermostat.
Draining the coolant to access the thermostat
Before removing the old thermostat, it’s important to drain the coolant from your car’s engine. This will prevent any coolant from leaking or spilling when you remove the thermostat. To drain the coolant, locate the drain plug on the bottom of the radiator or the lower radiator hose. Place a container underneath to catch the coolant and slowly open the drain plug or remove the hose. Allow the coolant to completely drain before proceeding to the next step.
Removing the bolts or clips securing the old thermostat
Once the coolant is drained, you can move on to removing the old thermostat. Depending on your car’s make and model, the old thermostat may be secured with bolts or clips. Using a wrench or socket, carefully remove the bolts or clips that are holding the old thermostat in place. Be sure to keep track of any washers or gaskets that may come loose during this process.
If the old thermostat is held in place with clips, use a pair of pliers or a screwdriver to carefully release the clips and remove the thermostat.
After removing the bolts or clips, gently pull out the old thermostat from the thermostat housing. Inspect the thermostat and housing for any signs of damage, such as corrosion or leaks. If necessary, clean the housing thoroughly before installing the new thermostat.
That’s it! You have successfully removed the old thermostat in your car. Now, you’re ready to install the new thermostat and enjoy optimal temperature control for your vehicle.
Installing The New Thermostat
When it comes to installing the new thermostat in your car, there are a few crucial steps to follow. These steps will ensure that your new thermostat functions properly and keeps your engine running at the optimal temperature. In this post, we’ll guide you through the process of installing the new thermostat, step by step.
Cleaning the thermostat housing and ensuring it’s free from debris
Before placing the new thermostat, it’s important to clean the thermostat housing and make sure it’s free from any debris or obstructions. This ensures a tight seal and prevents any interference with the thermostat’s functionality.
To clean the thermostat housing, follow these simple steps:
- Start by identifying the thermostat housing. It’s typically located near the engine’s top portion.
- Remove the housing cover by loosening the bolts or clips and securing it in place.
- Inspect the housing for any signs of dirt, corrosion, or debris.
- Clean the housing thoroughly using a clean cloth or a soft brush. Ensure that no debris is left behind.
- Double-check that the gasket or seal on the housing is intact and in good condition.
Cleaning the thermostat housing will ensure a proper fit for the new thermostat and prevent any potential issues down the road.
Placing the new thermostat in the correct orientation
Once the thermostat housing is clean and free from debris, the next step is to place the new thermostat in the correct orientation. Follow these steps to ensure proper placement:
- Examine the new thermostat and locate the side marked “TOP” or with an arrow indicating the correct orientation.
- Carefully position the thermostat inside the housing so that the correct side faces upwards.
- Make sure the thermostat fits snugly into the housing without any gaps or misalignment.
- If the thermostat has a rubber gasket or seal, ensure it is properly aligned and seated in the housing.
Properly placing the new thermostat in the correct orientation is crucial for its accurate functioning and ensures optimal engine performance.

Tightening the bolts or clips to secure the thermostat in place
Once the new thermostat is correctly positioned in the housing, it’s time to secure it in place. This step involves tightening the bolts or clips that hold the thermostat in position.
To secure the thermostat, follow these steps:
- Gently tighten the bolts or clips in a diagonal pattern to ensure even pressure distribution.
- Refer to the car’s service manual or specifications to determine the appropriate torque value for tightening the bolts.
- Avoid overtightening, as it can damage the thermostat or housing. Use a torque wrench if necessary.
Tightening the bolts or clips properly ensures that the new thermostat remains securely in place and functions optimally.
Testing And Troubleshooting
Testing and Troubleshooting
When it comes to installing a thermostat in your car, testing and troubleshooting are crucial steps in ensuring proper functionality and temperature regulation. These steps help identify any potential issues and allow you to address them before they become major problems. In this section, we will discuss two important aspects of testing and troubleshooting: refilling the coolant and checking for leaks, and reconnecting the car’s battery, and starting the engine.
Refilling the coolant and checking for leaks
One of the first steps in testing and troubleshooting the thermostat installation is refilling the coolant and checking for leaks. To do this, follow these simple steps:
1. Turn off the engine and allow it to cool down completely.
2. Open the hood of your car and locate the coolant reservoir.
3. Remove the cap from the reservoir and carefully pour the coolant into it until it reaches the specified level.
4. Inspect the surrounding areas for any signs of leaks, such as puddles or stains.
5. If you notice any leaks, identify the source and address it promptly to prevent further damage.
Reconnecting the car’s battery and starting the engine
After refilling the coolant and checking for leaks, the next step is to reconnect the car’s battery and start the engine. Here’s how you can do it:
1. Locate the car’s battery, which is usually located in the engine compartment.
2. Using a wrench or the appropriate tool, reconnect the battery by attaching the positive (+) terminal to its respective cable and the negative (-) terminal to its corresponding cable. Tighten the connections securely.
3. Once the battery is successfully reconnected, position the key into the ignition and turn it to start the engine.
4. If the engine starts without any issues, allow it to run for a few minutes to ensure proper function.
5. Keep an eye on the temperature gauge on your car’s dashboard to ensure it stays within the normal range.
Monitoring the thermostat’s functionality and ensuring proper temperature regulation
With the engine running, it’s important to monitor the thermostat’s functionality and ensure proper temperature regulation. Here are some key factors to consider:
1. Observe the temperature gauge on your car’s dashboard. It should gradually increase and stabilize within the normal operating range. If it fluctuates excessively or exceeds the normal range, there may be an issue with the thermostat.
2. Pay attention to any unusual sounds or smells coming from the engine. Overheating or irregular temperature regulation may be indicative of a faulty thermostat.
3. Keep an eye on the coolant level in the reservoir. If it consistently decreases or there are signs of leakage, it may indicate a problem with the thermostat or other cooling system components.
4. Consider using an OBD-II scanner to retrieve any relevant error codes. These codes can provide valuable insight into any underlying issues with the thermostat or other engine components.

Tips For Maintaining Your Car’s Thermostat
Regularly checking the thermostat for any signs of damage or malfunction
One of the most important aspects of maintaining your car’s thermostat is to regularly check it for any signs of damage or malfunction. The thermostat is responsible for regulating the engine’s temperature, so it’s crucial to ensure it is functioning properly to avoid overheating or engine damage. To check the thermostat, follow these simple steps:
- Step 1: Start by allowing your car’s engine to cool down completely. This is important for your safety as well as an accurate assessment of the thermostat’s condition.
- Step 2: Once the engine is cool, open the hood and locate the thermostat housing. It is usually located near the engine’s upper radiator hose.
- Step 3: Carefully inspect the thermostat for any signs of damage such as cracks, leaks, or corrosion. Additionally, check for any sticking or slow response when opening and closing.
- Step 4: If you notice any signs of damage or malfunction, it is recommended to replace the thermostat as soon as possible to avoid any further issues. Ensure to choose a thermostat that is compatible with your car’s make and model.
Regularly checking your car’s thermostat for any signs of damage or malfunction is a proactive way to prevent potential problems and ensure your engine runs smoothly. By taking the time to inspect the thermostat, you can catch any issues early on and address them before they escalate into more significant and costly repairs.
Flushing and replacing the coolant according to the manufacturer’s recommendations
To maintain your car’s thermostat and cooling system, it is essential to flush and replace the coolant periodically. Coolant plays a crucial role in maintaining the proper temperature of the engine and preventing overheating. By following the manufacturer’s recommendations for flushing and replacing the coolant, you can ensure its optimal performance. Here’s what you need to do:
- Step 1: Refer to your car’s owner’s manual or consult the manufacturer’s guidelines to determine the recommended interval for coolant flushing and replacement.
- Step 2: Park your car on a level surface and allow the engine to cool down completely. This will prevent any injuries and ensure an accurate coolant level check.
- Step 3: Open the hood and locate the coolant reservoir. It is usually a transparent plastic container with min/max markings.
- Step 4: Check the coolant level and visually inspect it for any signs of contamination or discoloration. If necessary, use a coolant hydrometer to test its freezing and boiling points.
- Step 5: If the coolant is dirty, contaminated, or does not meet the manufacturer’s specifications, it is time to flush and replace it. Follow the proper procedure outlined in your car’s manual or seek professional assistance.
By adhering to the manufacturer’s recommendations for flushing and replacing the coolant, you can ensure that your car’s thermostat and cooling system operate at their optimum level. Flushing and replacing the coolant regularly will help prevent corrosion, maintain proper engine temperature, and extend the overall lifespan of your car’s cooling system.
Consulting a professional if you encounter any persistent issues with your car’s thermostat
In some cases, despite your best efforts to maintain your car’s thermostat, you may encounter persistent issues or malfunctions. If you notice any of the following signs, it is crucial to consult a professional for further assistance:
- Sign 1: The engine is consistently running hotter or colder than usual.
- Sign 2: The engine temperature gauge frequently fluctuates, indicating an inconsistent thermostat operation.
- Sign 3: You observe coolant leaks around the thermostat housing.
- Sign 4: The thermostat fails to open or close properly, resulting in overheating or inefficient cooling.
- Sign 5: You experience difficulties in starting the engine or notice sluggish performance.
Professional mechanics have the expertise and necessary tools to diagnose and repair complex thermostat issues accurately. They can perform advanced tests, such as checking the thermostat’s electrical connections, using specialized equipment, and evaluating the overall health of the cooling system. By seeking professional help for persistent thermostat issues, you can avoid potential further damage to your engine and ensure the long-term reliability of your vehicle.
Frequently Asked Questions On How To Install Thermostat In Car
Can I Replace Car Thermostat Myself?
Yes, you can replace a car thermostat yourself.
Which Way Should A Thermostat Face?
A thermostat should face the room in which you want to control the temperature. It should be placed on an interior wall, away from direct sunlight, drafts, windows, and doors to ensure accurate readings and efficient heating or cooling.
Is Changing A Car Thermostat Hard?
Changing a car thermostat is not hard. It is a simple task that can be done easily with basic tools. Just follow the instructions in the car’s manual and take the necessary precautions. Remember to let the engine cool down before starting.
How Long Does It Take To Change A Thermostat In A Car?
Changing a thermostat in a car usually takes about 1-2 hours depending on the make and model. It involves draining and refilling the coolant, removing and replacing the old thermostat, and testing for proper functioning.
Conclusion
Installing a thermostat in your car is a relatively simple process that can greatly improve the performance and efficiency of your vehicle’s cooling system. By following the steps outlined in this guide, you will be able to effectively install a thermostat without any hassle.
Remember to consult your car’s manual for specific instructions and always prioritize safety. With the right tools and knowledge, you can efficiently install a thermostat in your car and enjoy a smoother, more reliable driving experience.
