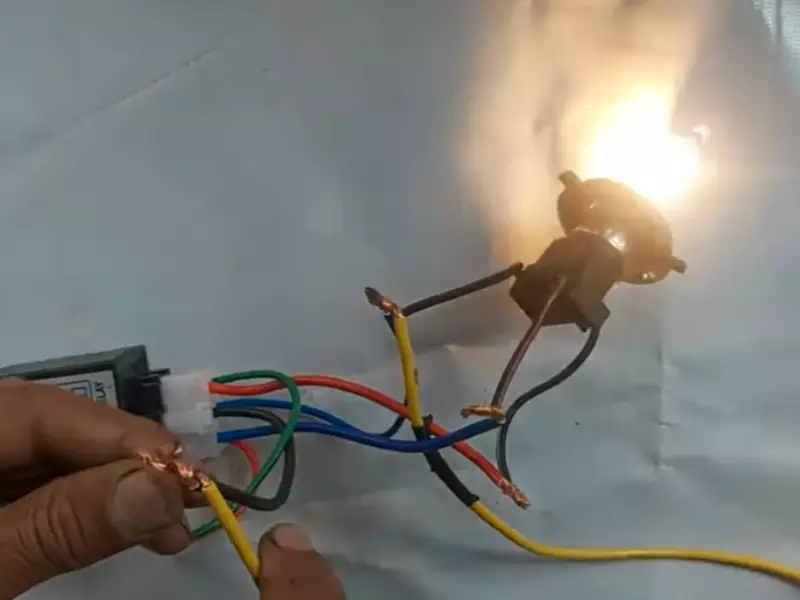
To install a relay for LED lights, follow these steps:
- Locate a suitable mounting location for the relay.
- Connect the relay’s ground wire to a ground source.
- Connect the relay’s power wire to a constant power source.
- Connect the relay’s trigger wire to the power wire of the switch.
- Connect the relay’s output wire to the positive terminal of the LED lights.
Frequently Asked Questions On How To Install Relay For LED Lights
Does An LED Light Need A Relay?
An LED light does not necessarily require a relay. However, for certain applications where the LED light draws a high amount of current, a relay may be used to control the power supply.
How Do You Connect Led To Relay?
To connect an LED to a relay, start by connecting the positive terminal of the LED to the common terminal of the relay. Then, connect the normally open terminal of the relay to the power source. Lastly, connect the negative terminal of the LED to the ground or the negative terminal of the power source.
What Kind Of Relay Do I Need For A LED Light Bar?
You need a 12-volt automotive relay for an LED light bar.
Does A Relay Need To Be Grounded?
Yes, a relay needs to be grounded. Grounding the relay helps to provide a stable and reliable electrical connection, improving the overall performance and safety of the system.
Conclusion
To conclude, installing a relay for LED lights is a simple yet crucial step to ensure efficient and safe functioning. By following the step-by-step instructions provided in this guide, you can easily set up your relay and enjoy the enhanced performance of your LED lights.
Remember to always prioritize safety and consult an expert if you encounter any difficulties. Now, it’s time to brighten up your surroundings with dazzling LED lights!