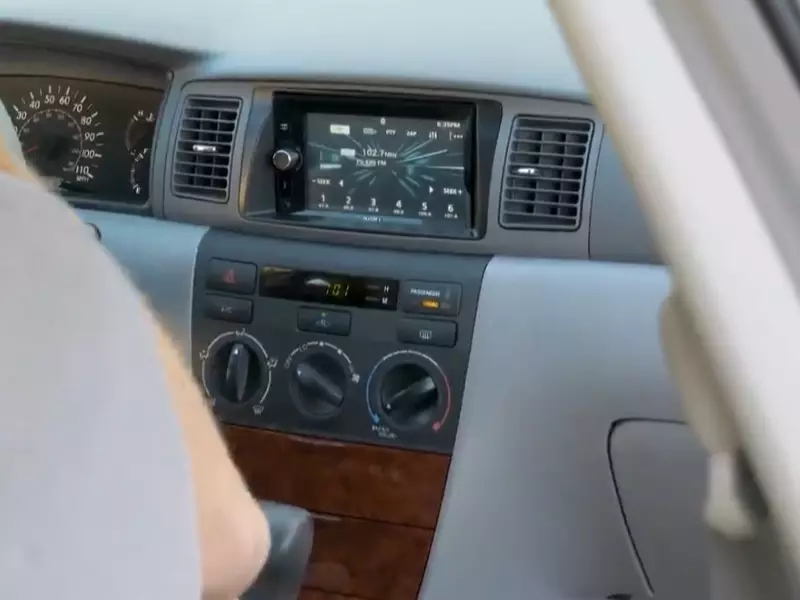
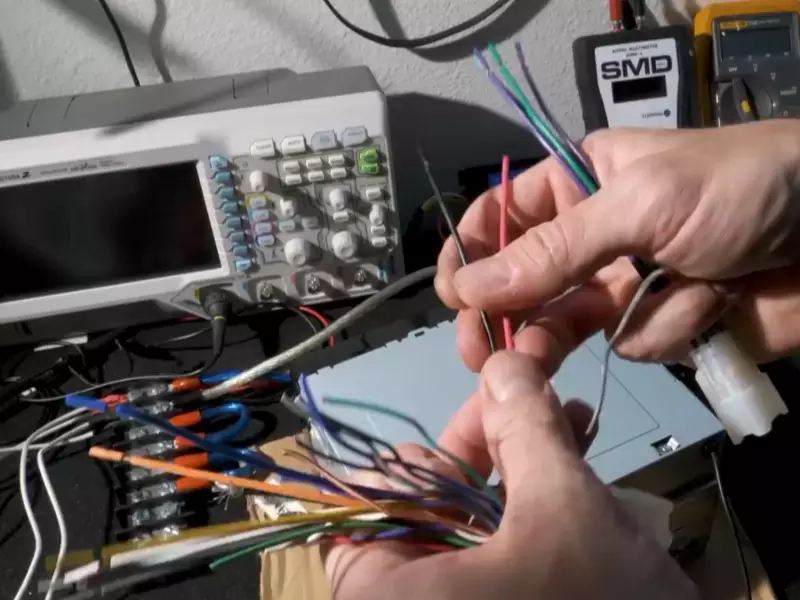
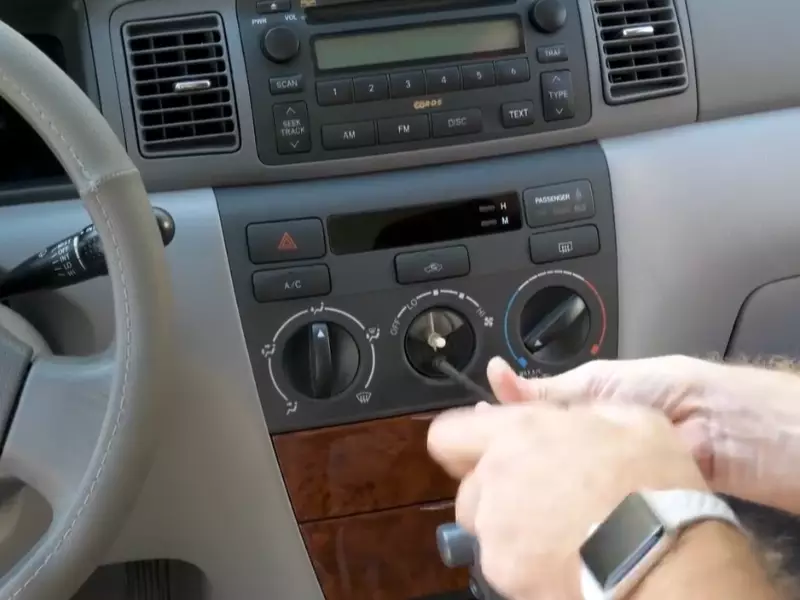
To install a car stereo, start by disconnecting the negative battery cable and removing the existing stereo. Then, connect the new stereo’s wiring harness and secure it in place before reattaching the battery cable.
This guide will walk you through the process step by step, ensuring a seamless installation. Installing a car stereo is a straightforward process that can enhance your driving experience. Whether you want to upgrade your current sound system or replace a faulty stereo, it’s important to know how to install a car stereo properly.
By following a few simple steps, you can enjoy high-quality audio and functionality while on the road. We will guide you through the process of installing a car stereo, providing you with the necessary knowledge and steps to complete the installation successfully. So, let’s get started and enhance your car’s audio system.

Gathering The Necessary Tools And Equipment
Before you jump in and start installing a new car stereo, it’s important to gather all the necessary tools and equipment. This will ensure a smoother installation process and help you avoid any unnecessary frustration. In this section, we will discuss researching compatible stereo models, identifying the required tools and equipment, and checking the vehicle’s user manual for specific instructions.
Researching the Compatible Stereo Models
First and foremost, it’s crucial to research and find compatible stereo models for your vehicle. Different car models require different stereo sizes and configurations. A quick online search or consulting with an expert at your local car audio store can provide you with a list of stereo models that are compatible with your car. Make sure to jot down the make and model numbers of the stereo options that fit your vehicle.
Identifying the Required Tools and Equipment
Once you have determined the compatible stereo models, it’s time to identify the tools and equipment you’ll need for the installation. While the specific tools may vary depending on your car model and the stereo you choose, here are some common tools that are often required:
| Tools | Equipment |
|---|---|
| Screwdriver set (including flathead and Phillips) | New stereo unit |
| Pry tools | Wire harness adapter |
| Socket and ratchet set | Antenna adapter |
| Wire cutters/strippers | Mounting kit |
| Electrical tape | Wire connectors |
Checking the Vehicle’s User Manual for Specific Instructions
Lastly, don’t forget to consult your vehicle’s user manual for any specific instructions related to installing a car stereo. The manual may provide valuable information regarding the electrical connections, wire colors, and any precautions you need to take during the installation process. Following the manufacturer’s instructions will help you ensure a proper and safe installation.
To successfully install your new car stereo, take the time to gather all the necessary tools and equipment. Research the compatible stereo models for your vehicle, identify the required tools and equipment, and consult your vehicle’s user manual for specific instructions. By being prepared, you’ll have a smoother installation experience and enjoy your upgraded car audio system in no time.
Removing The Old Car Stereo
Before you can install a new car stereo, you’ll need to remove the old one. This process involves disconnecting the car battery, removing panels and trim pieces, disconnecting the wiring and antenna connections, and finally removing the mounting screws and brackets. Below, we’ll guide you through each step in detail.
Disconnecting the Car Battery
The first step in removing your old car stereo is to disconnect the car battery. This ensures your safety and prevents any potential electrical mishaps. Follow these steps:
- Locate your car battery. It is usually found under the hood.
- Using a wrench or socket set, loosen the nut on the negative terminal of the battery.
- Remove the negative cable from the battery terminal and secure it away from the battery.
By disconnecting the car battery, you eliminate the risk of electrical shocks during the removal process.
Removing Panels and Trim Pieces
To access the car stereo, you’ll need to remove certain panels and trim pieces. The specific process may vary depending on your vehicle’s make and model, but here are some general steps to follow:
- Consult your car’s manual to identify any screws or clips holding the panels and trim pieces in place.
- Use a screwdriver or panel removal tool to carefully remove the screws or clips.
- Once the screws or clips are removed, gently pry the panels or trim pieces away from the dashboard, being careful not to damage them.
Remember to keep track of any screws or clips you remove, as you will need them later to secure the new car stereo.

Disconnecting the Wiring and Antenna Connections
Now that you have access to the car stereo, it’s time to disconnect the wiring and antenna connections. Follow these steps:
- Identify the wiring harness connected to the back of the car stereo.
- Unplug the wiring harness by pressing the release tab and pulling it away from the stereo.
- Locate the antenna connection and gently unplug it from the back of the stereo.
Take care not to pull on the wires or connectors too forcefully to avoid damaging them.
Removing the Mounting Screws and Brackets
Finally, it’s time to remove the mounting screws and brackets that hold the car stereo in place. Here’s how to do it:
- Using a screwdriver or socket set, remove the screws securing the stereo to the mounting brackets.
- If your stereo has additional brackets, remove those as well.
- Once all the screws and brackets are removed, carefully slide the stereo out of the dashboard.
Now that you’ve successfully removed the old car stereo, you can proceed with installing the new one. Stay tuned for our next blog post, where we’ll guide you through the installation process step by step.
Installing The New Car Stereo
Upgrading your car stereo can greatly enhance your driving experience, allowing you to enjoy your favorite music and podcasts with crystal-clear sound quality. Installing a new car stereo may seem like a daunting task, but with the right steps and instructions, it can be a straightforward process. In this guide, we will walk you through the installation process, focusing on the following key steps: Mounting the New Stereo Unit, Connecting the Wiring and Antenna, Testing the Functionality of the New Stereo, and Securing the Stereo in Place.
Mounting the New Stereo Unit
The first step in installing your new car stereo is mounting the unit securely in your vehicle. Here’s a step-by-step guide:
- Start by disconnecting the negative terminal of your car battery to avoid any electrical mishaps.
- Remove the existing stereo from your car by unscrewing the mounting screws or unclipping the panel.
- Ensure that the mounting kit provided with your new car stereo is compatible with your car’s make and model.
- Attach the mounting brackets or sleeve included in the kit to the new stereo unit. Refer to the manufacturer’s instructions for specific details.
- Slide the new stereo unit into the mounting bracket or sleeve, ensuring a snug fit.
- If necessary, use a screwdriver or any additional hardware provided to secure the stereo unit in place.
Connecting the Wiring and Antenna
Once you have successfully mounted the new stereo unit, it’s time to connect the wiring and antenna. Follow these steps:
- Refer to your car’s wiring diagram to identify the corresponding wires for power, ground, speakers, and other connections.
- Connect the wiring harness adapter to the new stereo unit. This adapter will allow you to plug into the existing wiring harness in your car, eliminating the need for cutting or splicing wires.
- Match the colors of the wires from the wiring harness adapter with the corresponding wires from the new stereo unit.
- Secure the connections by twisting the wires together and covering them with electrical tape or using wire connectors.
- Attach the antenna lead to the antenna port on the back of the new stereo unit.
Testing the Functionality of the New Stereo
Before securing the stereo in place, it’s essential to test its functionality to ensure everything is working correctly. Follow these simple steps:
- Reconnect the negative terminal of your car battery.
- Turn on the car’s ignition to power up the stereo unit.
- Check if the stereo powers on and displays the screen correctly.
- Test all the audio channels by playing music or adjusting the volume.
- Verify that the speakers are functioning correctly and producing sound.
Securing the Stereo in Place
Once you have confirmed that the new stereo unit is working correctly, it’s time to secure it in place. Follow these final steps:
- Ensure that all the wiring and connections are tucked away neatly and out of the way of any moving parts.
- Slide the stereo unit back into the mounting bracket or sleeve.
- If necessary, use the mounting screws or clips to secure the stereo unit firmly in place.
- Double-check that the stereo unit is securely mounted and doesn’t wobble or move around.
- Replace any panels or trims that were removed during the installation process.
By following these steps closely, you can install your new car stereo confidently and enjoy an upgraded audio experience on your daily drives. Remember to refer to the specific instructions provided by the manufacturer and your car’s wiring diagram for a seamless installation.

Troubleshooting And Tips
Installing a car stereo can be an exciting project that allows you to enhance your driving experience with better sound quality and additional features. However, sometimes you may encounter issues during the installation process. In this section, we will cover common issues that may arise and how to resolve them, as well as provide some tips to make the installation process easier. Finally, we will go over the final steps to ensure proper functionality of your newly installed car stereo.
Common Issues and How to Resolve Them
If you come across any of these common issues during the installation of your car stereo, don’t panic. Here’s how you can resolve them:
Issue 1: Poor Sound Quality
If you notice that the sound quality from your new car stereo isn’t up to par, there are a few things you can check. First, ensure that all the connections are secure and properly attached. Loose or faulty connections can result in poor sound quality. Additionally, double-check the settings on your car stereo to ensure that they are optimized for your vehicle’s audio system. Adjust the equalizer settings and balance to improve sound output.
Issue 2: No Power or Display
If your car stereo is not powering on or displaying any information, start by checking the fuse. Remove the fuse associated with the stereo and inspect it for any signs of damage. If the fuse is blown, replace it with a new one of the same amperage. If the fuse is not the issue, it could be a problem with the wiring. Make sure all the connections are secure and properly connected. If everything looks fine, consult the user manual or reach out to the manufacturer for further assistance.
Tips for an Easier Installation Process
Making the car stereo installation process easier can save you time and frustration. Here are some tips to help you breeze through the installation:
- Read the instructions: Start by thoroughly reading the installation instructions provided with your car stereo. This will give you a clear understanding of the steps involved and any specific requirements.
- Gather the necessary tools: Before you begin, make sure you have all the tools required for the installation. This may include screwdrivers, wire cutters, crimping tools, and a voltage tester.
- Plan the wiring: Take some time to plan the wiring before you make any connections. This will help you avoid any confusion and ensure a neat and organized installation.
- Label the wires: To make the wiring process easier, label each wire with the corresponding connection point. This will help you stay organized and prevent any mistakes.
- Secure loose wires: Use zip ties or adhesive clips to secure any loose wires. This will prevent them from getting in the way or becoming damaged.
Final Steps to Ensure Proper Functionality
- Test the connections: Once you have completed the installation, test all the connections and make sure they are secure. Wiggle each wire gently to check for any loose connections.
- Check the functionality: Power on your car stereo and test all the features and functions. Use the radio, CD player, Bluetooth, or any other features your stereo offers to ensure everything is working properly.
- Adjust the settings: Spend some time adjusting the settings on your car stereo to suit your preferences. Play around with the equalizer, balance, and fade to optimize the audio output.
- Double-check the manual: Finally, refer back to the user manual to ensure that you haven’t missed any important steps or settings. This will help you maximize the functionality of your car stereo.
Frequently Asked Questions Of How To Install Car Stereo
Can I Install A Car Stereo Myself?
Yes, you can install a car stereo yourself. Follow the instructions carefully, gather the necessary tools, and be patient. However, if you’re unsure or uncomfortable with car electronics, it’s better to hire a professional for a safe and accurate installation.
How Do You Install A Car Stereo In Your Car?
To install a car stereo, first, disconnect the car’s battery. Then, remove the old stereo by using the appropriate tools. Next, connect the wiring harness and antenna adapter to the new stereo. Lastly, slide the new stereo into the dash and secure it.
Reconnect the battery and test the stereo.
Do I Need A Wiring Harness To Install A Car Stereo?
Yes, a wiring harness is necessary for the installation of a car stereo. It allows the stereo to connect with the electrical system of the vehicle properly. By using a wiring harness, you can ensure a secure and efficient installation.
What Wires Go To What In A Car Stereo?
Car stereo wires are color-coded for easy installation. Red is for power, yellow is for memory, black is for ground, and blue is for the amplifier. Green, purple, white, and gray are for speakers. The wires should match the corresponding colors on the car stereo and speakers.
Conclusion
To wrap things up, installing a car stereo doesn’t have to be an overwhelming task. By following the step-by-step guide in this blog post and ensuring you have the right tools, you’ll be able to enjoy your favorite tunes on the road in no time.
Remember to pay attention to details, be patient, and consult a professional if needed. Enjoy the enhanced audio experience and happy driving!
