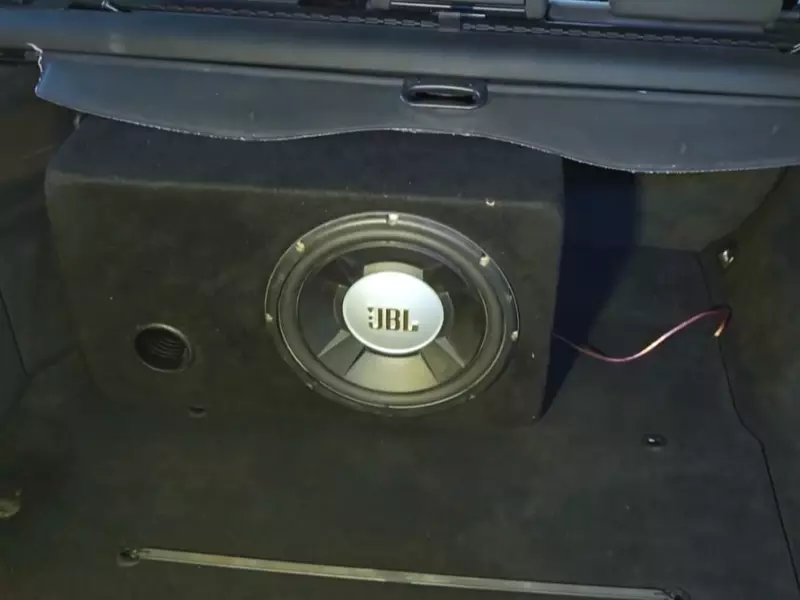
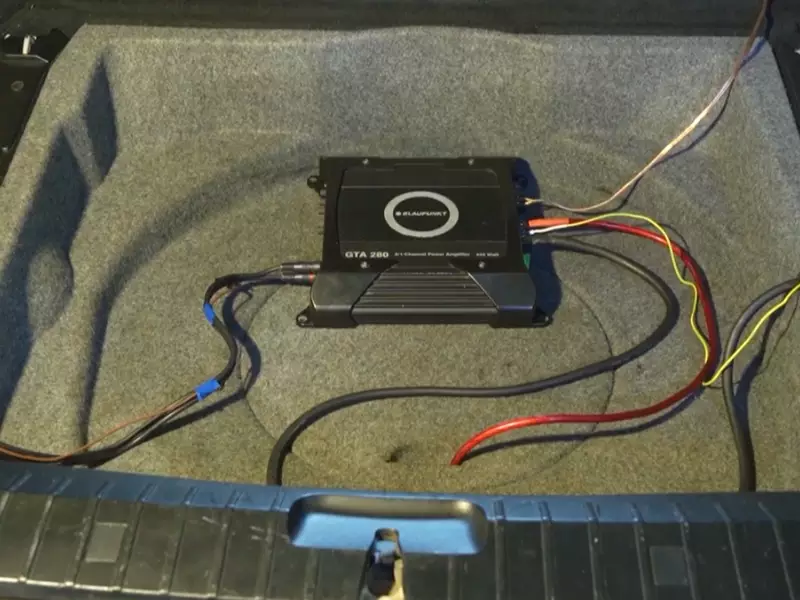
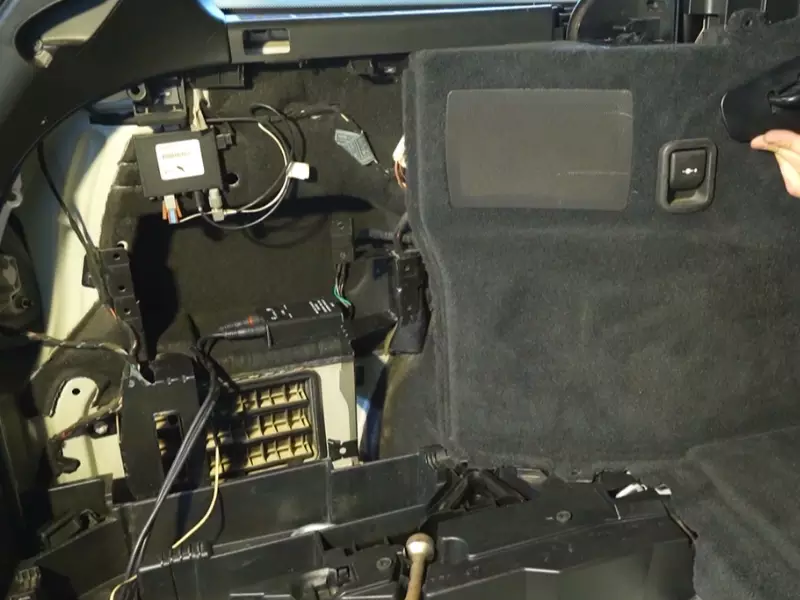
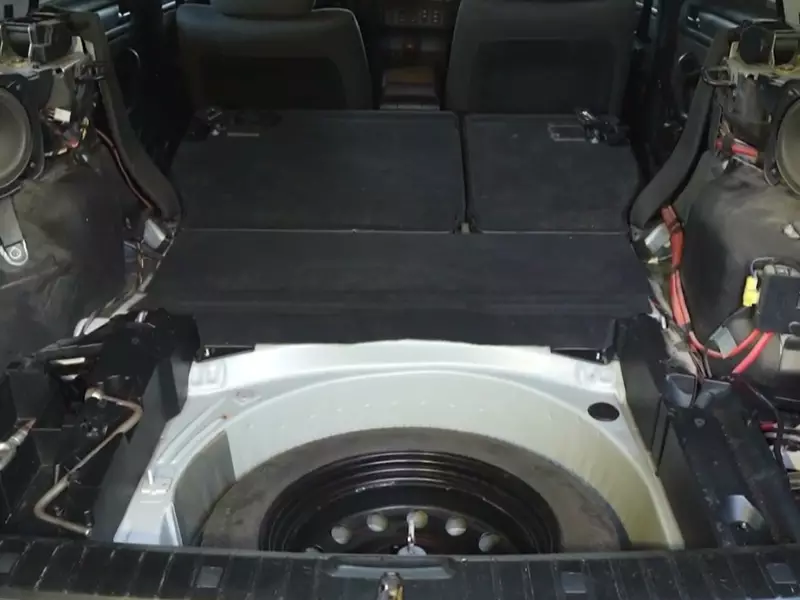
To install an amp and sub to a stock radio, you will need to connect the amp’s power wire to the battery, run RCA cables from the amp to the radio’s rear outputs, and hook up the subwoofer to the amp’s speaker output terminals. Installing an amp and sub to a stock radio can be a great way to enhance your car’s audio system without having to replace the entire setup.
By adding an amplifier and subwoofer, you can achieve a deeper bass and more powerful sound. We will guide you through the process of installing an amp and sub to a stock radio. We will provide step-by-step instructions and tips to ensure a successful installation.
So, let’s get started and make your car audio experience even better.

Overview Of Installing Amp and Sub-Stock Radio
Reasons to Upgrade the Audio System
Upgrading the audio system in your car can significantly enhance your driving experience. If you’re a music lover, you deserve to hear your favorite songs in the highest quality possible. Stock radios often lack the power and clarity needed to fully enjoy your music, which is why installing an amp and subwoofer is a great option. By upgrading your audio system, you can achieve a louder, cleaner, and more immersive sound throughout your car.
Benefits of Installing an Amp and Subwoofer
There are numerous benefits to installing an amp and subwoofer to your stock radio. Let’s take a look at some of the advantages:
- Enhanced Bass: A subwoofer adds depth and richness to the low-frequency sounds, allowing you to experience the full impact of bass-heavy music genres like hip-hop and electronic music.
- Improved Sound Quality: An amplifier boosts the power of the audio signal, which results in cleaner and more detailed sound reproduction. This means you’ll be able to hear every nuance in your music, making it a more enjoyable listening experience.
- Increased Volume: By installing an amp and subwoofer, you can significantly increase the volume levels of your audio system without distortion. This is particularly beneficial for drivers who enjoy blasting their music while on the road.
- Customization Options: Upgrading your audio system allows you to tailor the sound to your preferences. You can adjust the bass, treble, and other audio settings to create the perfect balance that suits your musical taste.
- Resale Value: Installing an amp and subwoofer can also increase the resale value of your car. Many potential buyers are attracted to vehicles with high-quality audio systems, so it’s a worthwhile investment if you plan to sell your car in the future.
Preparing the Necessary Tools and Equipment
Before you begin the installation process, it’s important to gather all the necessary tools and equipment. Here’s a list of items you’ll need:
| 1. | Amp wiring kit |
| 2. | Subwoofer enclosure |
| 3. | Subwoofer |
| 4. | Amplifier |
| 5. | Wire strippers |
| 6. | Screwdriver set |
| 7. | Multimeter |
| 8. | Tape measure |
Having these tools and equipment ready will ensure a smooth and efficient installation process.
Now that we’ve covered the reasons to upgrade your audio system, the benefits of installing an amp and subwoofer, and the necessary tools and equipment, it’s time to delve into the step-by-step process of installing an amp and sub to your stock radio. Stay tuned for our next blog post, where we’ll provide a detailed guide on how to execute this installation successfully.

Gathering The Required Materials
Before you begin the process of installing an amp and sub to your stock radio, it is essential to gather all the necessary materials. This will ensure a smooth and efficient installation process. Here is a comprehensive list of everything you will need:
List of materials needed for the installation:
- Amplifier
- Subwoofer
- Wiring kit
- Line output converter
- Speaker wire
- Power wire
- Ground wire
- Remote wire
- Fuse holder with fuse
- Electrical tape
- Wire crimpers
- Wire strippers
- Socket wrench set
- Trim removal tools
Having these materials ready before you start will save you time and ensure you have everything you need for a successful installation.
Determining the compatibility of the stock radio:
Before proceeding with the installation, it is crucial to determine the compatibility of your stock radio with an aftermarket amp and subwoofer. Not all stock radios are designed to work with additional audio equipment, so it’s important to check if your radio has preamp outputs or a compatible wiring harness.
To check the compatibility:
- Review the user manual of your stock radio for any information regarding additional audio equipment compatibility.
- Consult with a professional car audio technician who can offer expert advice on compatibility.
- If your stock radio doesn’t have the necessary compatibility, you may need to consider upgrading to an aftermarket head unit that is compatible with amps and subwoofers.
Choosing the right type of amplifier and subwoofer:
Choosing the right amplifier and subwoofer is essential for achieving the desired sound quality and ensuring compatibility with your stock radio. Here are some important factors to consider:
- Power requirements: Determine the power output and RMS (root mean square) value of your stock radio to ensure you choose an amplifier and subwoofer that can be powered adequately without risking damage.
- Enclosure type: Decide whether you want a sealed, ported, or bandpass enclosure for your subwoofer, keeping in mind the available space in your vehicle.
- Size and compatibility: Consider the size of the subwoofer and amplifier to ensure they fit properly in your vehicle’s designated mounting locations.
- Additional features: Look for additional features such as adjustable gain, bass boost, and crossover settings to fine-tune your audio experience.
- Budget: Set a budget and choose an amplifier and subwoofer that offer the best value for your money.
By considering these factors, you can make an informed decision and choose an amplifier and subwoofer that will enhance your audio system without any compatibility issues.

Preparing The Wiring
Before installing an amp and sub to your stock radio, it is crucial to prepare the wiring properly. This step involves identifying the factory wiring harness, understanding the wiring diagram of the stock radio, and selecting the appropriate gauge of wire for the installation.
Identifying the Factory Wiring Harness
To begin with, you need to locate the factory wiring harness in your vehicle. The factory wiring harness is usually a bundle of wires that connects various electrical components in the car, including the stock radio. It is essential to identify this harness as it will serve as the connection point for your amp and sub.
Understanding the Wiring Diagram of the Stock Radio
Next, familiarize yourself with the wiring diagram of the stock radio. This diagram provides a visual representation of the different wires and their functions within the radio system. It is crucial to understand this diagram to ensure proper integration of the amp and sub with the stock radio.
Refer to the manufacturer’s documentation or search online for the wiring diagram specific to your vehicle’s make and model. Once you have the diagram, take your time to analyze it and identify the relevant wires needed for the installation. This step will help you avoid any potential wiring mistakes.
Selecting the Appropriate Gauge of Wire
When it comes to selecting the appropriate gauge of wire for the installation, there are a few factors to consider. The gauge refers to the thickness or size of the wire, and it plays a crucial role in maintaining the electrical integrity of your audio system.
The gauge of wire you choose depends on the power requirements of your amp and sub. Typically, larger amps and subs require thicker wires to handle the higher power levels. It is essential to consult the specifications of your audio equipment to determine the appropriate gauge of wire required for the installation.
Moreover, ensure that you use high-quality and oxygen-free copper wire, as it delivers superior signal transfer and minimizes the risk of any interference or power loss.
In conclusion, identifying the factory wiring harness, understanding the wiring diagram of the stock radio, and selecting the appropriate gauge of wire are crucial steps in preparing the wiring for installing an amp and sub to your stock radio. Taking the time to complete these steps accurately will set the foundation for a successful installation and optimal performance of your audio system.

Removing The Stock Radio
Now that you have properly detached the negative battery cable and removed the trim panels, it’s time to move on to the next step: removing the stock radio. This is a crucial step in the process of installing an amp and sub to your stock radio, as it will allow you to access the necessary wiring connections.
Detaching the Negative Battery Cable
Before getting started, safety should always be your priority. To avoid any electrical mishaps, make sure to detach the negative battery cable from your vehicle’s battery. This will prevent any potential short circuits or damage to the radio unit.
To detach the negative battery cable, follow these simple steps:
- Locate the negative battery terminal typically marked with a minus (-) symbol.
- Using a wrench or a socket, loosen the nut holding the cable in place. Ensure that the cable is completely disconnected from the battery terminal.
Removing the Trim Panels and Head Unit
Now that you have disconnected the negative battery cable, it’s time to remove the trim panels and head unit. These panels will provide you access to the radio and enable you to disconnect the wiring harness.
To remove the trim panels and head unit, follow these steps:
- Using a trim panel removal tool or a flathead screwdriver wrapped in a cloth, gently pry off the trim panels surrounding the stock radio.
- Once the trim panels are removed, you will usually find screws or bolts securing the head unit in place. Use the appropriate tool to unscrew or unbolt them.
- Carefully pull out the head unit from the dash, ensuring not to damage any surrounding components.
Disconnecting the Wiring Harness
With the head unit out, you can now proceed to disconnect the wiring harness. This step is essential as it will allow you to connect the wiring required for the amp and sub installation.
To disconnect the wiring harness, perform the following actions:
- Identify the wiring harness connected to the back of the head unit.
- Gently press the release tabs or squeeze the clip to unlock the harness from the head unit.
- Once unlocked, carefully pull the wiring harness away from the head unit to detach it.
Now that you have successfully removed the stock radio and disconnected the wiring harness, you are one step closer to enhancing your audio experience with an amp and sub. Stay tuned for our next step: wiring and connecting the amp and sub to your stock radio!
Connecting The Amp And Subwoofer
Once you have located an appropriate location for mounting the amplifier and connected the power wire to the car battery, it is time to connect the amp and subwoofer. This step is crucial for achieving that immersive, bass-heavy sound you crave in your car’s audio system. Follow these simple instructions to connect the amp and subwoofer seamlessly.
Locating an appropriate location for mounting the amplifier
Before you begin connecting the amp and subwoofer, make sure to find a suitable location for mounting the amplifier. This ensures proper ventilation and easy access for future maintenance. Look for an area that is away from any heat sources, such as the engine or exhaust, to prevent overheating. Additionally, consider the aesthetics of your car’s interior and choose a location that will not interfere with passengers or obstruct your view while driving.
Connecting the power wire to the car battery
Start by connecting the power wire from the amp to the car battery. This step provides the necessary power for the amplifier to function. You will need to locate the positive terminal on your car battery and connect the positive wire of the amp to it. Then, find a suitable grounding point near the amplifier and connect the negative wire of the amp to it. Make sure all connections are secure and properly insulated to prevent any electrical mishaps.

Running RCA cables and remote wire to the amp
Next, you need to run the RCA cables and remote wire from the head unit to the amplifier. The RCA cables transmit the audio signal from the head unit to the amplifier, while the remote wire allows the amp to turn on and off with the head unit. Start by identifying the RCA output jacks on your head unit and connect one end of the RCA cables to them. Then, route the RCA cables along the car’s interior, away from any sources of interference or heat. Finally, connect the other end of the RCA cables to the corresponding RCA inputs on the amplifier. Don’t forget to connect the remote wire from the head unit to the designated remote terminal on the amplifier.
Wiring the subwoofer to the amplifier
Now that the amp and head unit are properly connected, it’s time to wire the subwoofer to the amplifier. Start by identifying the speaker outputs on the amplifier. These are typically labeled as “Subwoofer Out” or “Speaker Out.” Connect the positive wire from the subwoofer to the positive speaker output on the amplifier, and the negative wire from the subwoofer to the negative speaker output. Ensure that the connections are tight and secure to prevent any sound distortion or intermittent connections.
Congratulations! You have successfully connected the amp and subwoofer to your stock radio. By following these steps, you can now enjoy a powerful and immersive audio experience in your car.
Testing And Adjusting The Audio System
Now that you have successfully installed an amp and sub to your stock radio, it’s time to test and adjust the audio system to ensure optimal sound quality. This step is crucial as it allows you to fine-tune the settings and make any necessary adjustments to enhance your listening experience. Follow these steps to test and adjust your newly installed amp and subwoofer.
Checking for any loose connections
The first thing you should do when testing your audio system is to check for any loose connections. Loose connections can cause poor sound quality or even prevent the system from functioning properly. Take a few minutes to inspect all the connections, including the amp-to-radio, speaker-to-amp, and subwoofer-to-amp connections. Make sure everything is securely plugged in and tightened to avoid any potential issues. Remember, a strong and stable connection is vital for optimal audio performance.
Configuring the amplifier settings
Now that you’ve ensured all the connections are tight, it’s time to configure the settings on your amplifier. Most amps come with various control knobs, such as gain, bass boost, crossover, and filter settings. These knobs allow you to adjust the output levels and tailor the sound to your preferences. Start by setting the gain level, which controls the amplification of the sound signal. Adjust it gradually while playing some music until you achieve the desired volume without causing distortion. Next, fine-tune the bass boost, crossover, and filter settings to bring out the best in your subwoofer. Experiment with different settings to find the balance that suits your musical taste.
Adjusting the sound output of the subwoofer
One of the key elements in optimizing your audio system is adjusting the sound output of the subwoofer. Depending on your personal preferences and the type of music you enjoy, you may want to increase or decrease the bass level. Begin by playing a bass-heavy track and gradually adjust the level until it complements the rest of the audio system. Be mindful not to overpower the other frequencies in the music, as this can lead to muddiness or distortion. Finding the perfect balance ensures a crisp and immersive audio experience.
To summarize, testing and adjusting your audio system is an essential step in the installation process. By checking for loose connections, configuring the amplifier settings, and adjusting the sound output of the subwoofer, you can fine-tune the performance of your amp and sub to achieve superb sound quality. Take your time and experiment with different settings until you achieve the perfect balance that suits your musical preferences. Enjoy the enhanced audio experience!

Troubleshooting Common Issues
Once you have successfully installed an amp and sub to your stock radio, you may still encounter some common issues that can affect the performance of your audio system. In this section, we will discuss how to identify and resolve ground loop issues, address distortion and audio quality problems, and ensure proper electrical connections. Let’s dive in and troubleshoot these issues:
Identifying and Resolving Ground Loop Issues
Ground loop issues can cause annoying buzzing or humming sounds in your audio system. It usually occurs when there are multiple ground points, creating a difference in electrical potential. To identify and resolve this issue:
- Check all the ground connections to ensure they are secure and not loose.
- Inspect the RCA cables and make sure they are not running parallel to the power cables.
- If the problem persists, you can use a ground loop isolator. This device breaks the ground loop and eliminates unwanted noise.
By following these steps, you can effectively troubleshoot and resolve ground loop issues.
Addressing Distortion and Audio Quality Problems
Poor audio quality with distortion can be frustrating when you install an amp and sub to your stock radio. Here are a few steps to address this issue:
- Check the gain settings on your amp. Adjusting the gain properly can significantly improve the audio quality and reduce distortion.
- Inspect the speaker wires for any loose connections or damage. A faulty connection or damaged wire can cause a distorted sound.
- Make sure your subwoofer is properly wired and configured according to the manufacturer’s instructions.
- Consider upgrading your stock speakers if the distortion persists. High-quality speakers can enhance the audio experience.
Following these steps will help you troubleshoot and improve the audio quality in your car’s audio system.
Ensuring Proper Electrical Connections
Proper electrical connections are crucial for the optimal performance of your amp and sub. Here’s what you can do to ensure a solid electrical connection:
- Double-check all the power and ground connections to make sure they are secure.
- Use appropriate gauge wires for your power and ground connections. Thicker wires can handle higher power loads and minimize voltage drops.
- Consider using a capacitor to provide extra power when needed and stabilize voltage.
- Inspect the fuse on the power line to ensure it is properly connected and not blown.
By paying attention to these electrical connections, you can avoid potential problems and ensure a reliable and efficient audio system.
Remember, troubleshooting common issues in your amp and sub installation requires patience and careful observation. By methodically addressing and resolving these issues, you can enjoy a high-quality audio experience in your car.
Frequently Asked Questions Of How To Install Amp And Sub To Stock Radio
Can You Install A Subwoofer And Amp With a Factory Radio?
Yes, it is possible to install a subwoofer and amp with a factory radio. By using a line output converter, you can connect the subwoofer and amp to the speaker wires of your factory radio. This allows you to enhance the bass and overall sound quality of your car’s audio system.
Can You Add An Amplifier To A Stock Radio?
Yes, you can add an amplifier to a stock radio. It will enhance the sound quality and provide a more powerful audio experience.
Where Do You Connect The Remote Wire To The Amp On A Stock Radio?
Connect the remote wire from the stock radio to the amp using the wiring harness. The remote wire is usually labeled “remote turn-on” or “amp turn-on” on the wiring harness. Be sure to connect it to the corresponding remote wire input on the amp for proper functionality.
Can I Install An Amp And Sub To A Stock Radio?
Yes, you can. Installing an amp and sub to a stock radio is possible and can significantly improve your car’s audio performance. However, it may require additional wiring and adjustments to the stock radio for the best results. It’s recommended to seek professional help or refer to a reliable installation guide.
Conclusion
Upgrading your car’s audio system doesn’t always require replacing the stock radio. By following the step-by-step guide provided in this blog post, you can easily install an amp and sub to your stock radio. With this simple modification, you’ll be able to enjoy enhanced sound quality and a more powerful bass experience while keeping the integrity of your original radio intact.
Transform your car audio without the hassle of a full replacement and enjoy a whole new level of musical enjoyment on the road.
