To install an amp and sub to a factory radio, you need to connect the amp’s power wire to the car battery, run the amp’s remote turn-on wire to the factory radio, and hook up the amp’s audio input to the radio’s output. Additionally, connect the subwoofer to the amp using a speaker wire and adjust the sound settings to optimize the audio output.
This installation process will enhance the audio quality of your factory radio system, allowing you to enjoy rich bass and improved sound performance.
Enhancing Your Audio Experience With An Amplifier And Subwoofer
Upgrading your car’s factory radio system can greatly enhance your audio experience on the road. One of the most effective ways to elevate your sound quality is by incorporating an amplifier and subwoofer into your setup. These two components work in harmony to provide deeper bass, higher volume levels and overall improved sound clarity.
In this article, we will explore the benefits of upgrading your factory radio, understand the role of an amplifier and subwoofer, and guide you through the process of choosing the right equipment for your installation.

The benefits of upgrading your factory radio
Upgrading your factory radio offers a host of benefits that will transform your in-car audio experience. Here are a few advantages you can expect:
- Enhanced sound quality: Factory radios are often limited in their ability to deliver high-quality sound. Upgrading your system allows you to reproduce music with improved clarity, depth, and fidelity.
- Increased volume range: Factory radios may have restrictions on volume levels due to their limited power output. By adding an amplifier and subwoofer, you can significantly increase the volume range, without sacrificing audio quality.
- Deep and punchy bass response: Subwoofers are specifically designed to reproduce low-frequency sounds, adding depth and impact to the music. This creates a more immersive audio experience, especially when listening to genres like hip-hop, EDM, or rock.
- Better audio imaging: An amplifier helps improve the soundstage and imaging of your audio system by providing more power to the speakers. This allows you to hear instruments and vocals from their intended locations, resulting in a more realistic and immersive listening experience.
Understanding the role of an amplifier and subwoofer in your car audio system
An amplifier and subwoofer play crucial roles in optimizing your car audio system:
- Amplifier: An amplifier is responsible for boosting the audio signal from your radio and delivering it to the speakers with increased power. It ensures that each speaker receives enough power to produce clear and accurate sound at higher volumes.
- Subwoofer: A subwoofer is a specialized speaker that focuses on reproducing low-frequency sounds, commonly known as bass. It adds depth and impact to the music, creating a fuller and more enjoyable listening experience.
Choosing the right equipment for your installation
When selecting equipment for your amplifier and subwoofer installation, it’s important to consider several factors:
- Power requirements: Make sure the amplifier and subwoofer you choose are compatible with your car’s electrical system. Check the RMS power ratings to ensure they match the power output capabilities of your factory radio.
- Space availability: Measure the available space in your car to ensure the amplifier and subwoofer will fit properly. Consider whether you want a compact or more substantial setup based on your personal preference and available storage space.
- Budget considerations: Set a budget for your upgrade and research equipment that fits within your price range. Remember to prioritize quality and performance over cost, as investing in reliable equipment will ensure long-term satisfaction with your audio system.
- Compatibility: Ensure that the amplifier and subwoofer you select are compatible with your car’s factory radio. Research the necessary wiring harnesses, adapters, and mounting brackets to facilitate a smooth installation process.
By considering these factors and doing thorough research, you can choose the right amplifier and subwoofer that perfectly complements your car’s audio system and enhances your listening experience on the road.
Preparing For The Installation
Before diving into the installation process of adding an amp and sub to your factory radio, it is important to prepare yourself and gather the necessary tools and materials. This will ensure a smooth and successful installation, giving you the best audio experience while driving.
Evaluating the Compatibility of Your Factory Radio with an Amp and Sub
In order to proceed with the installation, it is crucial to determine whether your factory radio is compatible with an amp and sub. Not all factory radios can support this upgrade, so it is essential to check your car’s manual or consult a professional if you are unsure. However, a quick way to evaluate compatibility is to look for preamp outputs or RCA jacks on the back of your radio. These outputs indicate that your radio can transmit signals to the amp and sub, ensuring a seamless integration.
Gathering the Necessary Tools and Materials
Now that you have determined the compatibility of your factory radio, it’s time to gather the tools and materials needed for the installation. Here is a handy list to help you get started:
| Tools | Materials |
|---|---|
|
|
Make sure you have all the necessary tools and materials ready before starting the installation to avoid any interruptions or delays.

Taking Safety Precautions Before Starting the Installation
Before you begin the installation process, it is essential to take safety precautions to protect yourself and prevent any damage to your car or equipment. Here are a few important safety measures to consider:
- Disconnect the negative battery terminal – This will prevent any accidental short circuits or electrical mishaps while working with the wiring.
- Work in a well-ventilated area – This is necessary as you may encounter dust or debris during the installation process.
- Wear safety goggles and gloves – Protect your hands and eyes from any potential injuries while handling tools or sharp objects.
- Follow the manufacturer’s instructions – Make sure to carefully read and follow the instructions provided with the amp and sub to ensure proper installation.
By taking these safety precautions before starting the installation, you can minimize any risks involved and have a smooth and successful installation process.
Now that you have evaluated the compatibility of your factory radio, gathered the necessary tools and materials, and taken the required safety precautions, you are ready to move forward with the installation process. Stay tuned for the next steps where we will guide you through the actual installation of the amp and sub to your factory radio.
Step-By-Step Installation Process
Installing an amp and sub to a factory radio can greatly enhance your car audio system, giving you that deep bass and powerful sound you desire. While it may seem like a complex process, with the right guidance and step-by-step instructions, you can easily upgrade your factory radio. In this article, we will walk you through each step of the installation process, from removing the factory radio to adjusting the audio settings for optimal performance.
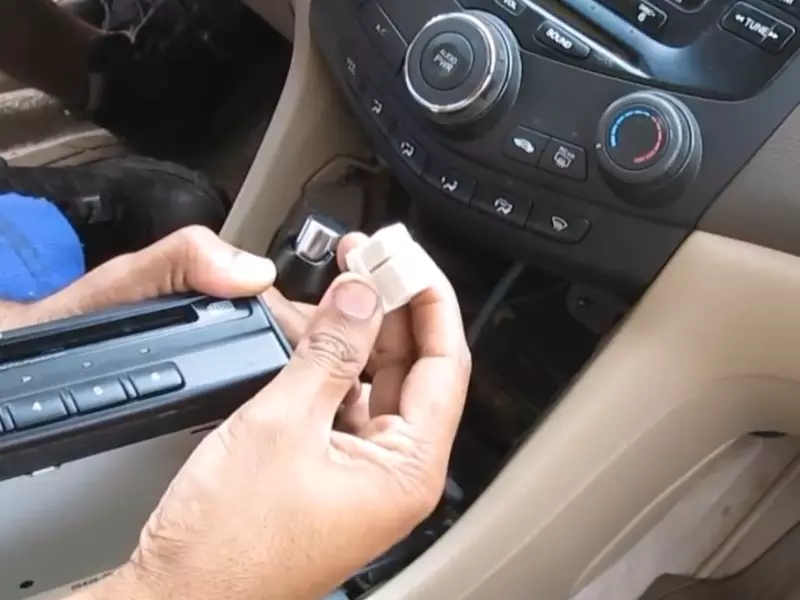
Removing the factory radio
The first step in installing an amp and sub to a factory radio is to remove the factory radio unit. This can usually be done by using a trim panel removal tool to gently pry off the trim panel surrounding the radio. Once the trim panel is removed, you will be able to access the mounting brackets and wiring harness.
Locating and disconnecting the wiring harness
Next, locate the wiring harness connected to the factory radio. This harness consists of various wires that transmit audio signals and power to the radio. To disconnect the wiring harness, carefully unplug each connector, taking note of their positions and colors for future reference.
Detaching the mounting brackets and trim panel
With the wiring harness disconnected, you can now detach the mounting brackets holding the factory radio in place. This is usually done by removing a few screws or clips that secure the brackets to the dashboard. Once the brackets are detached, you can remove the trim panel surrounding the radio completely.
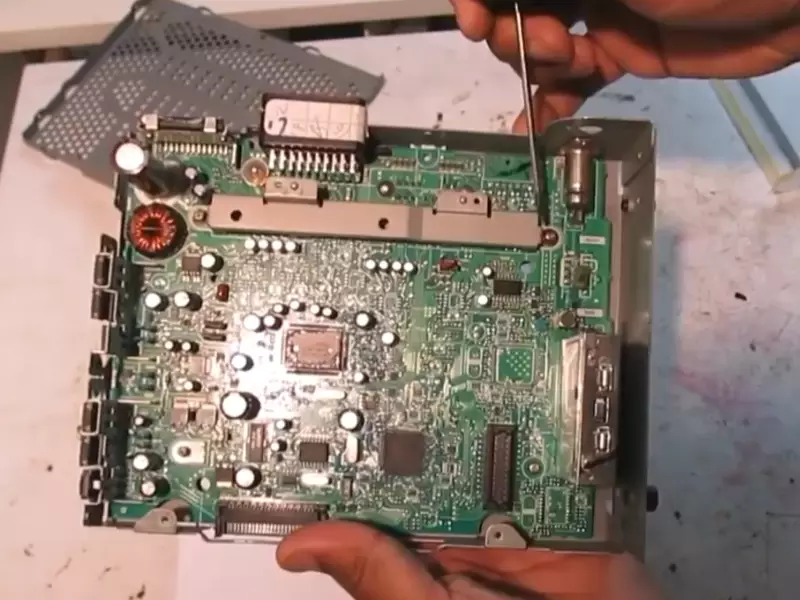
Extracting the factory radio unit
After removing the trim panel, you will be able to see the factory radio unit. To extract the radio, carefully unscrew any screws or bolts holding it in place. Once the screws are removed, gently pull the radio unit out of its mount and disconnect any remaining connectors, if any.
Connecting the amplifier to the factory radio
Now that the factory radio is removed, it’s time to connect the amplifier. Start by identifying the appropriate wiring connections on the amplifier. These usually include power, ground, and audio input connections. Follow the manufacturer’s instructions to ensure a secure and proper connection.
Splicing into the factory wiring harness
To integrate the amplifier with the factory wiring harness, you will need to splice into the existing wiring. Carefully strip the insulation off the appropriate wires using wire strippers, and connect them to the corresponding wires on the amplifier using crimp connectors or soldering.
Securing the amplifier in a suitable location
Once the wiring is complete, it’s time to secure the amplifier in a suitable location. Find a secure spot in the trunk or under a seat where the amplifier won’t be exposed to excessive heat or moisture. Use screws or brackets to secure the amplifier in place, ensuring it doesn’t move while driving.
Installing the subwoofer
With the amplifier securely installed, it’s time to install the subwoofer. Determine the optimal location for the subwoofer in your car, considering factors such as available space and desired sound quality. Once you’ve identified the location, use screws or brackets to mount the subwoofer securely.
Running the necessary wiring for power and audio signals
To power the subwoofer and transmit audio signals, you will need to run the necessary wiring. Start by connecting the power cable from the battery to the amplifier, ensuring it is properly fused and grounded. Next, run the audio signal cables from the amplifier to the subwoofer, keeping them away from power cables to avoid interference.
Adjusting the audio settings
Once all the wiring is complete, it’s time to adjust the audio settings for optimal performance. Start by configuring the amplifier controls, such as gain, bass boost, and crossover settings. Consult the amplifier’s manual for guidance on how to set these controls to achieve the desired sound quality.
Testing and fine-tuning the audio output
Finally, test the audio output of your new amp and sub setup. Play different genres of music and adjust the equalizer and crossover settings as needed to achieve the desired sound. Fine-tune the settings until you are satisfied with the audio output, ensuring a rich, deep bass and well-balanced sound across all frequencies.
By following this step-by-step installation process, you can successfully install an amp and sub to a factory radio, transforming your car audio system into a powerful and immersive experience. Take your time, be patient, and enjoy the rewarding result of your hard work.
Troubleshooting And Common Challenges
Installing an amp and sub to a factory radio can be an exciting project that enhances your overall audio experience in your vehicle. However, like any installation process, there are bound to be a few hiccups along the way. In this section, we will explore the common challenges that may arise during the installation and provide you with effective solutions to overcome these obstacles.
Resolving Wiring Issues and Ensuring Proper Connections
One of the common challenges you may encounter when installing an amp and sub to a factory radio is wiring issues. Proper wiring is crucial for the system to function optimally. Here are some troubleshooting steps you can follow:
- Check your wire connections: Ensure that all connections are secure and well-insulated to prevent any loose connections or short circuits.
- Verify your wire gauge: It’s essential to use the appropriate wire gauge to handle the power requirements of your amp and sub. Using an insufficient gauge wire can lead to poor performance and even damage to your equipment.
- Inspect your power and ground connections: Make sure your power wire is connected directly to the battery, utilizing an appropriate fuse. Inspect your ground connection to ensure it is securely fastened to a clean, metal surface of the vehicle’s chassis.
Dealing with Ground Loop Noise and Electrical Interference
Ground loop noise and electrical interference are common challenges that can impact the audio quality of your amp and sub-system. To mitigate these issues, consider the following troubleshooting tips:
- Check your grounding: Improper grounding can contribute to ground loop noise. Ensure that your ground connection is secure and free from any paint, rust, or debris that may hinder a solid electrical connection.
- Use quality RCA cables: Poor quality or damaged RCA cables can introduce unwanted noise and interference. Invest in high-quality shielded cables to minimize these issues.
- Isolate your RCA cables: Keep your RCA cables away from power wires and other electrical sources to reduce the chances of interference.
Addressing Compatibility Problems and Factory Radio Limitations
Compatibility problems and factory radio limitations can pose challenges during the installation process. Here are some steps you can take to address them:
- Ensure compatibility: Verify that your amp and sub are compatible with your factory radio. Check the specifications and consult the manufacturer’s guidelines to avoid any compatibility issues.
- Utilize line output converters: If your factory radio lacks RCA outputs, you may need a line output converter (LOC) to tap into the speaker wires and convert the signal to an RCA output.
- Consider factory radio limitations: Some factory radios may have limitations on the output signal strength or overall power output. Be aware of these limitations and adjust your expectations accordingly.
By troubleshooting wiring issues, addressing ground loop noise and electrical interference, and considering compatibility problems and factory radio limitations, you can overcome common challenges during the installation of an amp and sub to a factory radio. Following these steps will ensure an optimal audio experience in your vehicle.
Maintenance And Care For Your Upgraded Audio System
Installing an amp and sub to your factory radio can significantly enhance the audio quality and overall experience of your car’s sound system. However, just like any electronic device, your upgraded audio system requires regular maintenance and care to ensure optimal performance and longevity. By following these simple steps, you can keep your amplifier and subwoofer in top condition for years to come.
1. Regularly Inspecting the Wiring and Connections
One of the most important aspects of maintaining your upgraded audio system is inspecting the wiring and connections on a regular basis. Over time, vibrations and other factors may cause the wires or connections to become loose or damaged, resulting in poor sound quality or even complete system failure.
Here’s a simple checklist you can follow to ensure the wiring and connections of your amp and sub are in good condition:
- Check all connections to make sure they are secure and tight.
- Inspect the wires for any signs of fraying or damage.
- Ensure that the wires are properly routed and not pinched or exposed to excessive heat.
- Test the connections by gently tugging on them to see if they are firmly in place.
By regularly inspecting the wiring and connections of your upgraded audio system, you can catch any potential issues early on and prevent them from escalating into more significant problems.
2. Cleaning and Protecting the Amplifier and Subwoofer
In addition to inspecting the wiring and connections, it’s also essential to keep your amplifier and subwoofer clean and protected. Dust, dirt, and other debris can accumulate on the surfaces of these components and affect their performance. Regular cleaning can help maintain their appearance and functionality.
Here are some tips on how to clean and protect your amplifier and subwoofer:
- Use a soft cloth or brush to gently remove any dust or dirt from the surfaces.
- Avoid using harsh chemicals or abrasive materials that could damage the finish or components.
- Consider using a protective cover or case when your car is parked or not in use to prevent dust from settling on the amplifier and subwoofer.
By keeping your amplifier and subwoofer clean and protected, you can ensure that they continue to deliver high-quality sound and function optimally for years to come.
3. Troubleshooting Any Issues That May Arise Over Time
Even with proper maintenance, occasional issues may still arise with your upgraded audio system. It’s essential to troubleshoot and address these problems promptly to prevent any further damage and maintain the integrity of the system.
Here are some common issues you may encounter and their possible solutions:
| Issue | Solution |
|---|---|
| No sound from the subwoofer |
|
| Distorted sound |
|
| Intermittent sound |
|
By troubleshooting any issues that may arise over time, you can quickly identify and resolve them, ensuring that your upgraded audio system continues to deliver the exceptional sound quality you desire.
Regular inspection and care of your upgraded audio system, including the wiring and connections, cleaning and protecting the amplifier and subwoofer, and troubleshooting any issues that may arise, are essential for maintaining optimal performance and longevity. By following these simple steps, you can enjoy a superior audio experience in your car for years to come.
Frequently Asked Questions Of How To Install Amp And Sub To Factory Radio
Can I Hook Up An Amp And Subs To A Factory Radio?
Yes, you can add an amp and subs to a factory radio. It will enhance your sound system’s bass and overall audio experience.
Can You Hook Up An Amp To A Factory Radio?
Yes, you can connect an amp to a factory radio. It allows you to enhance the audio quality and add more power to your car’s sound system. Remember to follow the manufacturer’s instructions and use the appropriate wiring harness to ensure compatibility.
How To Install A Subwoofer With Built-In Amp To Factory Radio?
To install a subwoofer with a built-in amp to a factory radio, connect the subwoofer’s power and ground wires to the car battery. Next, connect the subwoofer’s line input to the factory radio’s speaker outputs. Finally, adjust the subwoofer and radio settings for optimal sound quality.
Can You Hook Up A Car Subwoofer And Amp To A Home Stereo?
Yes, it’s possible to connect a car subwoofer and amp to a home stereo. You’ll need a power supply, an adapter for the input/output connections, and a line output converter to convert the speaker-level signals. Keep in mind that it’s important to match the impedance ratings of the subwoofer and amp for optimal performance.
Conclusion
Installing an amp and sub to a factory radio is a great way to enhance your car’s audio system without replacing the whole unit. By following the step-by-step guide provided in this blog post, you can easily upgrade your sound quality and enjoy a more immersive driving experience.
With the right equipment and a little patience, you can achieve professional-grade results. So why wait? Start enjoying the benefits of a powerful audio system in your car today!