To install a double din stereo in a single din, you will need a dash kit adapter that converts the single din slot into a double din slot. Are you looking to upgrade your car’s audio system by installing a double din stereo in a single din slot?
With the help of a dash kit adapter, you can seamlessly convert the single din slot into a double din slot, allowing you to install the double din stereo without any hassle. We will guide you through the steps to successfully install a double din stereo in a single din slot, enhancing your car’s audio experience.
So, let’s dive in and get started!
Benefits Of Installing A Double Din Stereo In A Single Din Car
Enhanced audio quality
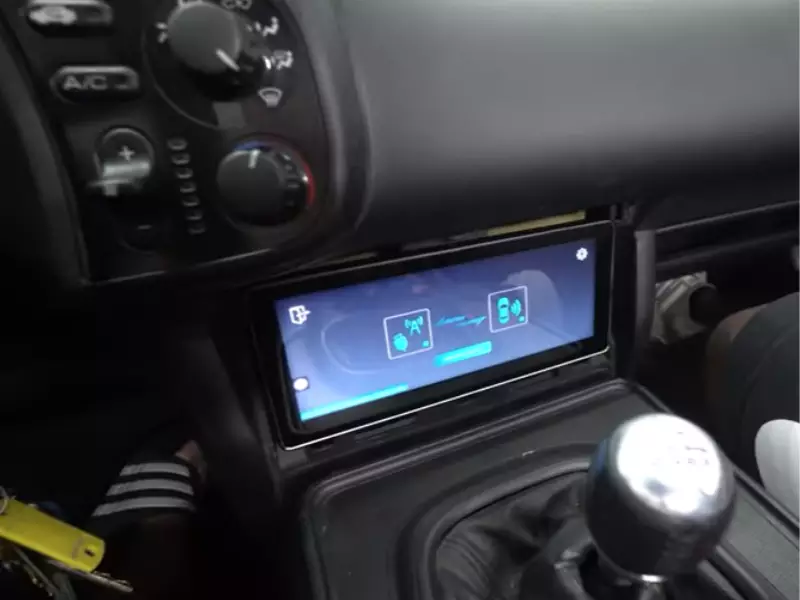
Installing a double din stereo in a single din car brings a whole new level of audio excellence to your driving experience. With a larger space for audio components, a double din stereo offers enhanced sound quality, providing clear and crisp audio that makes your favorite songs sound even better. Whether you’re a music enthusiast or simply enjoy listening to your favorite podcasts or audiobooks while on the road, the improved audio quality of a double din stereo will make your driving experience more enjoyable and immersive.
More options for entertainment
One of the major benefits of installing a double din stereo in a single din car is the increased options for entertainment. With a double din stereo, you have access to a wide range of entertainment features that go beyond just playing radio stations or CDs. Most double din stereos come equipped with Bluetooth connectivity, allowing you to connect your smartphone and stream your favorite music wirelessly. You can also enjoy hands-free calling while driving, ensuring a safer and more convenient experience. Additionally, many double din stereos support various media formats, including USB, AUX, and even DVD, giving you the flexibility to enjoy your favorite content in different ways.
Improved navigation features
Another significant advantage of installing a double din stereo in a single din car is the improved navigation features it offers. With built-in GPS navigation systems, double din stereos allow you to easily find your way around unfamiliar roads and discover new destinations with ease. The larger display screen makes it simpler to read and follow the directions, ensuring you never get lost again. Some double din stereos also offer real-time traffic updates, allowing you to avoid congestion and reach your destination faster. Whether you’re planning a road trip or simply running daily errands, the improved navigation features of a double din stereo make it a valuable addition to your car.
In conclusion, installing a double din stereo in a single din car comes with several benefits. The enhanced audio quality ensures a more immersive and enjoyable driving experience, while the added entertainment options provide endless hours of entertainment. Additionally, the improved navigation features make it easier and safer to navigate unfamiliar roads. Upgrade your car’s audio and entertainment system by installing a double din stereo and elevate your driving experience to new heights.
Understanding The Difference Between Single Din And Double Din Stereos
Understanding the Difference Between Single Din and Double Din Stereos
If you are a car audio enthusiast looking to upgrade your car’s sound system, you may have come across the terms “single din” and “double din” stereos. These terms refer to the size and dimensions of car stereos, and understanding the difference between the two can help you make an informed decision when it comes to installing a new stereo in your vehicle.
Size and Dimensions
One of the main differences between single din and double din stereos lies in their size and dimensions. A single din stereo typically measures about 2 inches in height and 7 inches in width, while a double din stereo is twice as tall, measuring around 4 inches in height. This difference in size is important to note as it directly impacts the compatibility of the stereo with your car’s dashboard.
Installing a double din stereo in a single din slot requires some modifications, as the double din unit is larger than the available space. However, with the right tools and expertise, it is possible to make such an installation work. On the other hand, if you have a double din slot in your car’s dashboard, installing a single din stereo would leave empty space, which can be filled with an installation kit or storage pocket.
Features and Functionality
Another key difference between single din and double din stereos lies in their features and functionality. While both types of stereos offer basic audio playback capabilities, double din units typically come with more advanced features such as touchscreen displays, built-in GPS navigation systems, Bluetooth connectivity, and compatibility with smartphone integration platforms like Apple CarPlay and Android Auto.
The larger size of double din stereos allows for the inclusion of these additional features, making them a popular choice among car owners who value convenience and technological advancements. Single din stereos, on the other hand, are more straightforward and compact, focusing on delivering essential audio functions without the bells and whistles of their double din counterparts.
Gathering The Necessary Tools And Materials
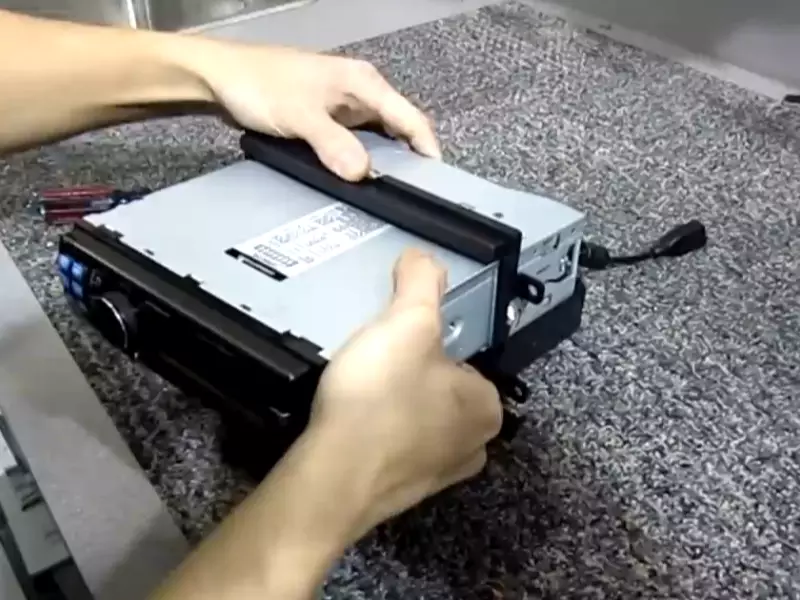
Gathering the necessary tools and materials is the first step to successfully installing a double din stereo in a single din car. Having all the right equipment beforehand will ensure a smooth installation process. In this section, we’ll discuss the essential tools and materials needed for this project.
Double Din Stereo Unit
The first item you’ll need is the double din stereo unit itself. This is the main component that will replace your old single din stereo. Double din stereos are larger in size and typically feature a touchscreen display, offering enhanced functionality and a modern look.
Dash Kit
To install the double din stereo unit seamlessly into your car’s dashboard, you’ll require a dash kit. This kit is specifically designed to fit the new stereo unit into the single din slot. It consists of various panels and brackets that ensure a secure and professional-looking installation.
Wiring Harness
A wiring harness is an essential part of the installation process. It connects the double din stereo unit to your car’s existing wiring system, allowing for proper communication and functionality. Without a wiring harness, you might encounter wiring issues that prevent the stereo from working correctly.
Antenna Adapter
Ensuring that your new double din stereo can receive radio signals is crucial. An antenna adapter is needed to connect your car’s antenna to the stereo unit. This adapter ensures that you can still enjoy FM/AM radio stations with the new stereo.
Screwdriver Set
A reliable screwdriver set is required to remove the old single din stereo and install the double din unit. Double din stereos are secured in the dashboard with screws, so having a variety of screwdriver sizes will help with easy removal and installation.
Wire Cutters and Strippers
Wire cutters and strippers are necessary to handle the wiring connections. These tools allow you to cut and strip the wires, enabling you to connect them properly to the wiring harness and ensure a secure and insulated connection.
By gathering these tools and materials, you’ll be well-prepared to install a double din stereo in your single din car. Now that you know what you need, let’s move on to the next step: Removing the old stereo.
Removing The Old Single Din Stereo
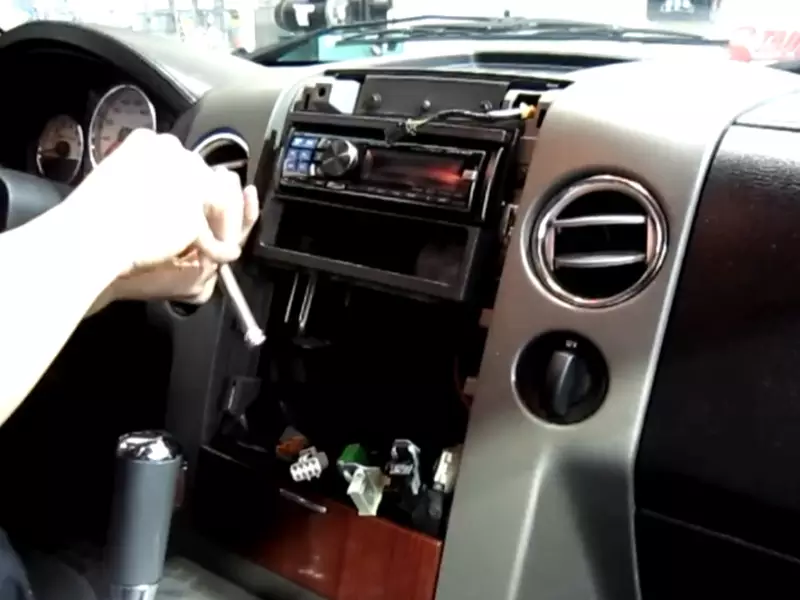
Are you looking to upgrade your car’s audio system with a double din stereo? Installing a double din stereo in a single din space may seem like a complicated task, but with the right steps, it can be easily accomplished. In this article, we will guide you through the process of removing the old single din stereo in preparation for the installation of a double din stereo. Let’s dive in and discover the steps you need to follow.
Disconnecting the battery
Before starting any work on your car’s stereo system, it is crucial to disconnect the battery to ensure your safety and prevent any electrical mishaps. Follow these steps to disconnect the battery:
- Make sure your car is parked in a safe and secure location.
- Open the hood of your car and locate the battery.
- Using a wrench or pliers, carefully loosen and remove the negative (-) terminal connector.
- Next, remove the positive (+) terminal connector in the same manner.
- Once both terminals are disconnected, cover them securely with electrical tape to avoid accidental contact.
Removing the trim panels
The next step in removing the old single din stereo is to remove the trim panels surrounding the stereo unit. Follow these steps:
- Using a trim removal tool or a flathead screwdriver wrapped in a cloth to prevent scratching, gently pry off the trim panels.
- Start with the panel closest to the stereo unit and continue until all the surrounding panels are removed.
- Set the trim panels aside in a safe place.
Disconnecting the wiring and antenna cables
Now that the trim panels are out of the way, it’s time to disconnect the wiring and antenna cables connected to the single din stereo. Follow these steps:
- Identify the wiring harness and antenna cable connected to the back of the stereo unit.
- Using a suitable tool or your fingers, press the release tabs or pins on the connectors and gently pull them apart.
- Repeat this step for all the necessary connectors, ensuring each one is disconnected and set aside safely.
Unscrewing the mounting bolts
The final step in removing the old single din stereo is to unscrew the mounting bolts that hold it in place. Follow these steps:
- Locate and identify the mounting bolts securing the stereo unit.
- Using a suitable wrench or socket set, carefully unscrew the bolts, ensuring not to drop them into any inaccessible areas.
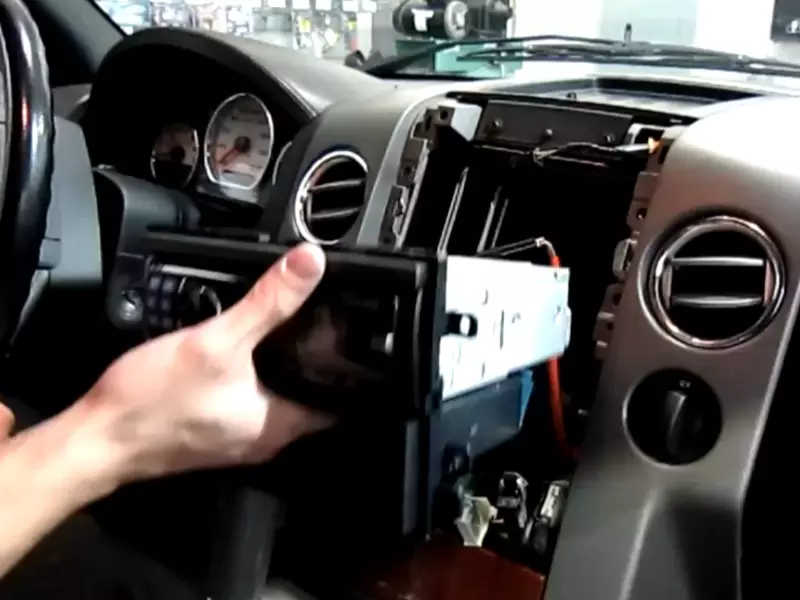
- Once all the mounting bolts are removed, gently pull out the single din stereo unit from the dashboard.
By following these steps, you have successfully removed the old single din stereo from your car. Now you can move on to the exciting part, installing the double din stereo. Stay tuned for our next article where we will guide you through the installation process. Happy upgrading!
Mounting The Dash Kit
Installing a double din stereo in a single din can be a challenging task, but with the right equipment and instructions, it can be done successfully. One important step in this process is mounting the dash kit. The dash kit provides a secure and aesthetically pleasing frame for the double din stereo in the single din opening. In this article, we will guide you through the process of mounting the dash kit for your double din stereo.
Attaching the brackets to the stereo unit
Before mounting the dash kit, you need to attach the brackets to the stereo unit. These brackets will help secure the stereo in the dash kit frame. To do this, follow these steps:
- Locate the brackets that came with your dash kit.
- Align the brackets with the stereo unit’s mounting holes.
- Insert screws through the brackets and tighten them to securely attach the brackets to the stereo unit.
Aligning the dash kit with the stereo opening
Once the brackets are securely attached to the stereo unit, it’s time to align the dash kit with the stereo opening in your vehicle’s dashboard. Here’s how:
- Place the dash kit on a flat surface.
- Insert the stereo unit, with the brackets attached, into the dash kit’s opening.
- Ensure that the stereo unit is centered and aligned properly within the dash kit opening.
Securing the dash kit with screws
With the dash kit aligned and the stereo unit in place, the next step is to secure the dash kit using screws. Follow these steps:
- Locate the screw holes on the dash kit.
- Insert screws through these holes, aligning them with the corresponding mounting holes in the vehicle’s dashboard.
- Tighten each screw to firmly secure the dash kit in place.
By following these steps, you can successfully mount the dash kit for your double din stereo in a single din opening. This will provide a secure and professional installation, allowing you to enjoy the benefits of a double din unit in your vehicle.
Wiring The Double Din Stereo
Installing a double din stereo in a single din slot can be a daunting task, but with the right guidance, it can be a smooth process. One of the crucial steps in this installation process is wiring the double din stereo. Ensuring a proper connection between the wiring harness and the stereo connectors is vital for the optimal functioning of your new stereo system.
Connecting the wiring harness to the stereo connectors
To start wiring your double din stereo, you will need to connect the wiring harness to the stereo connectors. The wiring harness is a set of wires with connectors that match the connectors on your double din stereo. These connectors include power, ground, speaker, and other necessary connections.
Follow these steps to connect the wiring harness to the stereo connectors:
- Identify the wiring harness and the connectors on your double din stereo.
- Insert the wiring harness connectors into the corresponding connectors on the stereo. The connectors are usually labeled to indicate their purpose, such as power, ground, and speakers.
- Ensure that the connectors are securely locked into place to avoid any loose connections.
Matching the colors of the wires for proper connections
After connecting the wiring harness to the stereo connectors, the next step is to match the colors of the wires for proper connections. The wires in the wiring harness are typically color-coded to make the installation process easier.
Follow these guidelines to match the colors of the wires:
- Refer to the wiring diagram provided with your double din stereo to identify the purpose of each wire.
- Match the colors of the wires from the wiring harness with the corresponding colors on the diagram.
- Make sure to double-check and verify the color coding to avoid any mistakes.
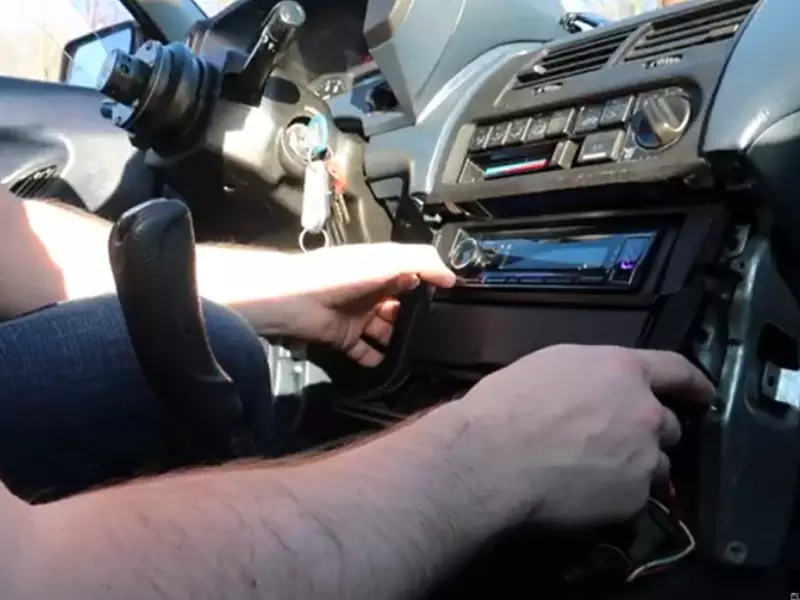
Using crimp connectors or soldering the connections
Once you have matched the colors of the wires, you have two options for making the connections between the wiring harness and the stereo connectors – using crimp connectors or soldering the connections.
Here are your options:
| Crimp Connectors | Soldering |
|---|---|
| Using crimp connectors allows for a quick and secure connection. Simply strip the end of each wire, insert it into the crimp connector, and use a crimping tool to secure it. | Soldering provides a more permanent and reliable connection. Strip the end of each wire, twist them together, apply solder to the twisted wire ends, and cover with heat shrink tubing for insulation. |
Choose the method that best suits your skill level and preference. Both options can result in a solid connection as long as they are done correctly.
Once all the connections have been made, ensure that each wire is properly secured and insulated to prevent any short circuits or loose connections.
Wiring the double din stereo may seem complex at first, but by following these steps and paying attention to detail, you can successfully complete this essential part of the installation process. Stay focused, take your time, and enjoy the rewarding experience of upgrading your car’s audio system.
Installing The Antenna Adapter
When it comes to installing a double din stereo in a single din, one important step is connecting the antenna adapter. The antenna adapter is crucial for receiving radio signals and ensuring optimal audio performance. In this section, we will guide you through the process of connecting the antenna cable to the adapter and plugging the adapter into the stereo unit.
Connecting the antenna cable to the adapter
To start, locate the antenna cable at the back of your single din stereo. Gently pull it out, ensuring not to damage the cable or any surrounding wires. Take the antenna adapter and locate the female connector. Match the male connector of the antenna cable with the female connector of the adapter. The connectors should easily snap together, creating a secure connection.
Plugging the adapter into the stereo unit
Now that the antenna cable is securely connected to the adapter, it’s time to plug the adapter into the stereo unit. Locate the antenna input on the back of your double din stereo. The antenna input may be labeled, making it easier to identify. Take the connected antenna adapter and align its male connector with the antenna input on the stereo unit. Gently push the adapter into the input until it clicks into place. This ensures a snug and secure fit, preventing any signal loss or interference.
It’s important to note that the installation process may vary depending on the specific make and model of your single din and double din stereo units. Be sure to consult the user manual or seek professional assistance if needed.
Reassembling The Trim Panels
Once you have successfully removed the old single din stereo and installed the double din stereo in your vehicle, the next step is to reassemble the trim panels. This final step is crucial in ensuring that the installation looks professional and seamless. Here’s a step-by-step guide on how to reassemble the trim panels:
Placing the trim panels back in their original positions
Start by carefully placing the trim panels back into their original positions. It’s essential to align them correctly to ensure a snug fit. Refer to the pictures or notes you took during the disassembly process to ensure you place each trim panel in the right spot.
Securing the panels with screws or clips
Once the trim panels are in the correct positions, it’s time to secure them in place. Depending on your vehicle’s make and model, this may involve using screws or clips.
If your trim panels are secured with screws:
- Locate the screw holes on the trim panels and vehicle dash.
- Insert the screws into the holes and tighten them using a screwdriver or appropriate tool.
If your trim panels are secured with clips:
- Carefully align the clips on the trim panels with the corresponding slots on the vehicle dash.
- Gently push the trim panel into place until you hear a satisfying click, indicating that the clip is securely fastened.
It’s important to go over each trim panel and ensure that they are securely fastened. Give them a gentle tug to ensure there is no looseness or rattling.
Remember, the trim panels not only provide a finished look but also serve to protect the internal components of your vehicle.
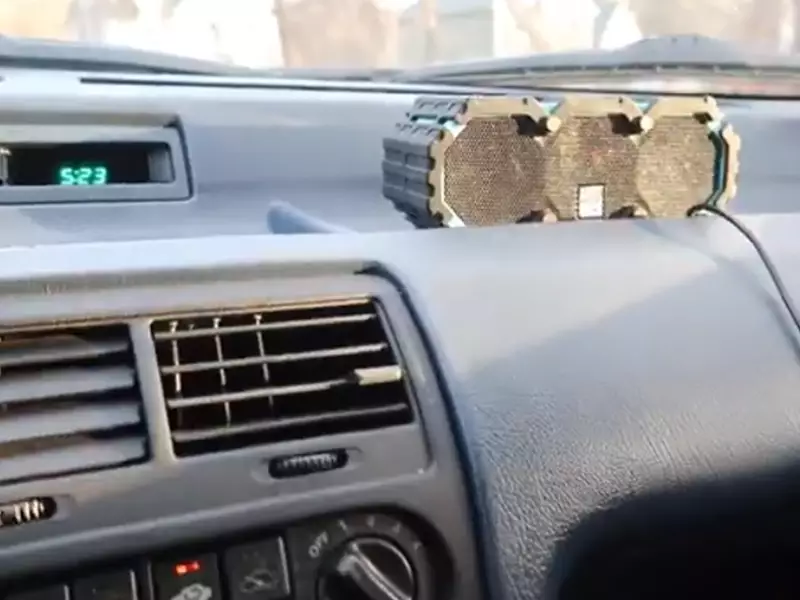
Testing The Double Din Stereo
Reconnecting the Battery
Once the double din stereo has been properly installed into the single din slot, the next step is to reconnect the battery. This is an important step, as it allows the stereo to receive power and ensures that everything is functioning correctly. To reconnect the battery, follow these steps:
- Locate the negative (black) and positive (red) terminals on the battery.
- Using a wrench or socket, loosen the nut on the negative terminal.
- Remove the negative cable from the battery.
- Repeat the same process for the positive terminal, removing the positive cable.
- After a few minutes, reattach the positive cable to the positive terminal and tighten the nut.
- Repeat the same process for the negative cable, reattaching it to the negative terminal and tightening the nut.
Turning on the Stereo and Checking Functionality
With the battery reconnected, it’s time to turn on the double din stereo and check if it is functioning properly. Follow these steps:
- Locate the power button on the stereo and press it.
- The stereo should power on and display the manufacturer’s logo or the home screen.
- If the stereo does not turn on or if there are any error messages, double check the wiring connections and make sure that everything is properly connected.
- If the stereo powers on without any issues, proceed to test different features and adjust audio settings.
Adjusting Audio Settings and Testing Different Features
Now that the stereo is powered on, it’s time to test its different features and adjust the audio settings to your preference. Follow these steps:
- Locate the audio settings menu on the stereo. This can usually be found by accessing the settings or preferences menu.
- Adjust the volume level to ensure that it is audible and to your liking.
- Test the balance and fader settings to make sure that the sound is evenly distributed throughout the vehicle.
- Explore the equalizer settings and experiment with different presets or customize the sound frequencies according to your preferences.
- Play a variety of music genres to test the stereo’s sound quality and performance.
- Connect your smartphone or other devices to the stereo via Bluetooth or auxiliary input, and test the audio playback and connectivity.
- Try out additional features such as AM/FM radio, CD or DVD player, navigation system, and any other functionality your stereo may offer.
By thoroughly testing the double din stereo and adjusting the audio settings, you can ensure that it enhances your overall driving experience. Take your time to explore and familiarize yourself with all the features, and make any necessary adjustments to create the perfect audio environment in your vehicle.
Frequently Asked Questions Of How To Install A Double Din Stereo In A Single Din
Can You Replace A Single Din With A Double Din?
Yes, it is possible to replace a single DIN with a double DIN. However, it may require modifications to the dashboard and additional accessories for proper installation. Make sure to consult a professional to ensure compatibility and a seamless fit.
What Is The Difference Between 1 Din And 2 Din?
1 DIN and 2 DIN are standard sizes for car stereo head units. 1 DIN is smaller and takes up less space, while 2 DIN is larger and has additional features like touchscreens.
Will Any Double Din Stereo Fit?
Yes, any double DIN stereo will fit as long as it is designed for a double DIN opening in your vehicle’s dashboard. It’s important to ensure proper compatibility for a seamless installation.
Do You Need A Wiring Harness To Install A New Radio?
Yes, a wiring harness is needed to install a new radio into your vehicle. It helps connect the radio to the car’s existing electrical system, making the installation process easier and more efficient.
Conclusion
To sum up, installing a double din stereo in a single din space can seem challenging, but with the right tools and careful attention to detail, it is definitely doable. From removing the old stereo to fitting the new one securely, we have covered all the necessary steps.
Now you can enjoy your upgraded audio experience in your vehicle without any hassle. Remember, always follow the instructions provided by the manufacturer for the best results. Happy stereo installation!
