To install a CD player in a car, first, gather the necessary tools and materials. Then, remove the old stereo system and disconnect all wires, ensuring the car’s battery is off.
Next, connect the new CD player to the car’s electrical system, matching the wires and colors. Install any necessary brackets or mounting hardware, ensuring a secure fit. Finally, test the CD player to ensure proper functionality and reattach any panels or trim pieces.
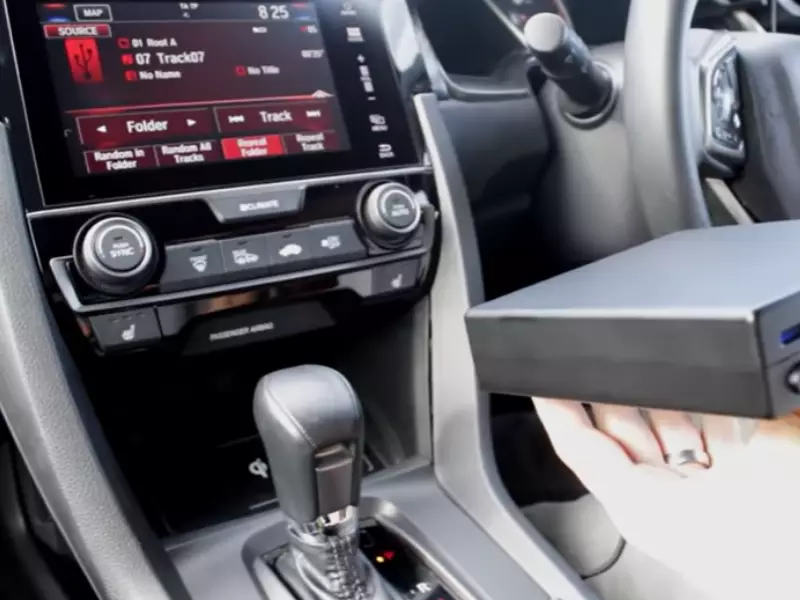
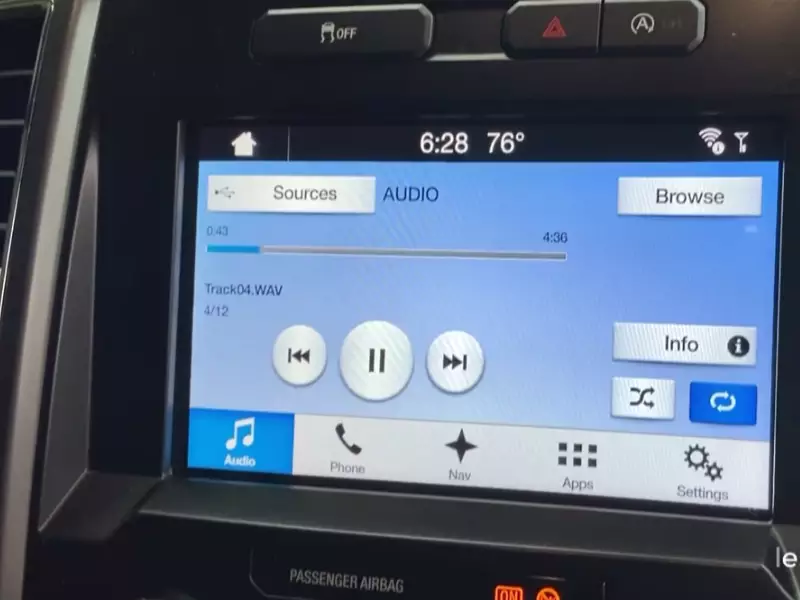
Enjoy your newly installed CD player in your car. Are you tired of listening to the same radio stations while driving? Installing a CD player in your car can provide a convenient and enjoyable way to play your favorite music on the go. This step-by-step guide will walk you through the installation process, allowing you to upgrade your car’s audio system with ease. By following the instructions carefully and utilizing basic tools and materials, you can have a fully functioning CD player in your car in no time. Say goodbye to boring radio and hello to your personal music collection on the road.
Getting Started: Required Tools And Materials
Installing a CD player in your car can be a great way to enhance your driving experience and enjoy your favorite music on the go. But before you start the installation process, it’s important to gather all the necessary tools and materials. Here are the essential items you’ll need to successfully install a CD player in your car:
Tools and materials needed for installing a CD player
To complete your CD player installation, you’ll need the following tools and materials:
- Screwdriver set: A set of screwdrivers with different sizes and types will come in handy for removing the existing stereo and installing the new CD player. Make sure you have both flathead and Phillips-head screwdrivers.
- Trim removal tool: This tool will assist you in removing the trim panels around the stereo unit without causing any damage.
- Wire cutter/stripper: You’ll need this tool to cut and strip wires during the installation process.
- Electrical tape or heat shrink tubing: To ensure proper electrical connections, you’ll want to have either electrical tape or heat shrink tubing to wrap around the wires.
- Pry tool: A pry tool can be useful for prying out the old stereo unit from the dashboard.
- CD player installation kit: This kit typically includes a wiring harness, mounting brackets, and other necessary accessories specific to your car make and model. It ensures a seamless and proper installation of the CD player.
- User manual: Don’t forget to have the user manual of your new CD player on hand. It will provide you with detailed instructions on the installation process specific to your CD player model.
Understanding the compatibility of CD players with different cars
Each car model has its own specifications and wiring setup, which can influence the compatibility of CD players. It’s crucial to understand the compatibility requirements of your car before purchasing a CD player. Factors such as the type of connection (wired or wireless), dimensions of the CD player, and compatibility with your car’s electrical system should be considered.
Researching and selecting the right CD player for your car
When selecting a CD player for your car, it’s important to conduct thorough research to ensure compatibility and functionality. Look for CD players that are specifically designed for your car make and model. Consider features such as Bluetooth connectivity, USB input, and smartphone integration to enhance your driving experience. Also, read customer reviews and ratings to gauge the performance and reliability of the CD players you are considering.
Now that you know what tools and materials you need, as well as how to understand the compatibility and select the right CD player for your car, you’re ready to embark on the installation process. With some patience and careful attention to detail, you’ll soon be enjoying your favorite tunes on the road!
Preparing The Car For Installation
Installing a CD player in your car can enhance your driving experience by allowing you to listen to your favorite music on the go. However, before you can start enjoying your tunes, you need to prepare your car for the installation process. This first step involves disconnecting the car battery to avoid any electrical issues, removing the existing stereo system or CD player, and preparing the dashboard for the new CD player installation. By following these steps, you can ensure a successful and hassle-free installation.
Disconnecting the car battery to avoid electrical issues
It is essential to disconnect the car battery before starting the installation process to prevent any electrical mishaps. This step helps ensure your safety and avoids potential damage to your car’s electrical system. To disconnect the car battery, follow these steps:
- Turn off the car’s engine and locate the negative terminal on the battery. It is usually marked with a “-” sign.
- Use a wrench or socket set to loosen the nut holding the negative terminal cable in place.
- Once the nut is loose, carefully remove the negative terminal cable from the battery.
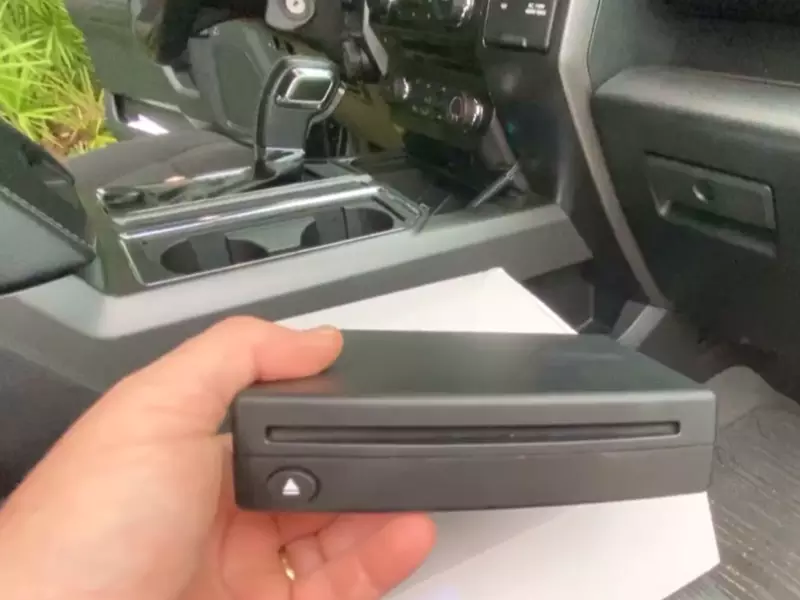
Removing the existing stereo system or CD player
Before installing the new CD player, you need to remove the existing stereo system or CD player from your car. This step ensures a clean slate for the installation. To remove the old system, follow these steps:
- Start by locating and removing any trim panels or fascia surrounding the stereo system. These panels can typically be pryed off with a trim removal tool or a flathead screwdriver.
- Once the trim panels are removed, you will see screws or bolts securing the stereo system or CD player in place. Use the appropriate screwdriver or wrench to loosen and remove these screws or bolts.
- Gently pull out the stereo system or CD player from the dashboard, being mindful of any connected wires or cables.
- Disconnect the wiring harness and antenna cable from the back of the stereo system or CD player.
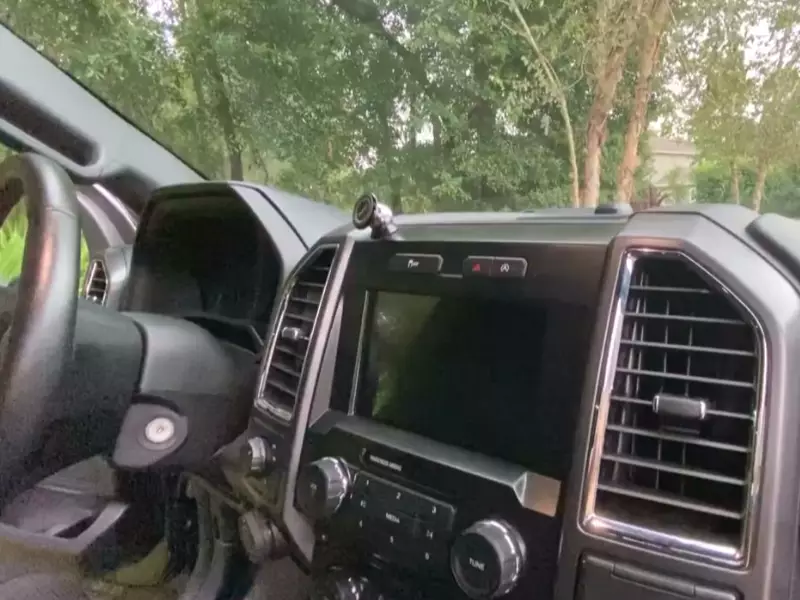
Preparing the dashboard for the new CD player installation
To ensure a secure and proper installation of the new CD player, you need to prepare the dashboard. The following steps will guide you through the process:
- Carefully inspect the dashboard for any loose wires, debris, or obstacles that may interfere with the new CD player’s installation. Remove any unnecessary items and clean the area to provide a clear workspace.
- If needed, use a wire harness adapter to match the wiring of the new CD player with that of your car’s wiring. This adapter will simplify the installation process and ensure compatibility.
- Test the fit of the new CD player in the dashboard to ensure it aligns properly. If necessary, use a dash kit or brackets provided with the CD player for a precise fit.
By following these steps, you can effectively prepare your car for the installation of a new CD player. Taking the time to disconnect the car battery, remove the existing system, and prepare the dashboard will set the stage for a seamless installation process. Next, in Step 2, we will explore how to connect the new CD player to your car’s wiring system.
Wiring And Connections
Now that you have successfully removed the old stereo, it’s time to move on to the second step: wiring and connections. This step is crucial as it ensures that your new CD player functions properly and seamlessly integrates with your car’s electrical system. In this section, we will walk you through the process of identifying the car’s wiring harness, connecting it with the CD player’s harness, properly grounding the CD player, and checking the connections for any loose or faulty wires.
Identifying the car’s wiring harness and matching it with the CD player’s harness
The first step in the wiring process is to identify and locate the car’s wiring harness. This harness connects the car’s electrical system to the stereo and typically consists of a series of colored wires. Different cars may have slightly different wiring setups, so it’s important to consult your car’s manual or an online resource for the specific wiring diagram.
Once you have identified the car’s wiring harness, you will need to match it with the corresponding harness on the CD player. Most CD players come with a color-coded harness that is designed to match the car’s wiring harness. Refer to the CD player’s manual or the included instructions to determine which wire should be connected to each corresponding wire.
Connecting the color-coded wires of the CD player and car’s harness
With the car’s wiring harness identified and the CD player’s harness ready, it’s time to start connecting the wires. Take each wire from the CD player’s harness and carefully connect it to the matching wire from the car’s harness. To ensure a secure and reliable connection, you may need to strip a small portion of the wire’s insulation and twist the exposed wire together. Alternatively, some harnesses come with plug-and-play connectors that simply need to be plugged in.
Remember to match the colors of the wires for each connection. For example, connect the red wire from the CD player’s harness to the red wire in the car’s harness. Take your time to ensure that each connection is secure and properly insulated to prevent any electrical issues down the road.
Properly grounding the CD player for optimal performance
In addition to the wiring connections, grounding the CD player is another essential step for optimal performance. Grounding provides a stable reference point for the electrical signals and helps reduce any potential interference or noise. Locate a metal point within your car’s dashboard, such as a metal frame or brace, and connect the ground wire from the CD player’s harness to it. Ensure that the connection is secure and free from any paint or debris that may hinder conductivity.
Checking the connections for any loose or faulty wires
After all the connections have been made, it’s important to thoroughly check each connection for any loose or faulty wires. These can cause electrical shorts or intermittent audio issues. Gently tug on each wire to confirm that it is securely connected. Additionally, visually inspect each connection point for any signs of damage or loose connectors.
If you encounter any loose or faulty wires during the inspection, recheck the connections and make adjustments as necessary. It’s crucial to ensure that all wires are properly connected to guarantee a reliable and stable connection between the CD player and the car’s electrical system.
Mounting And Installation
In this step, we will guide you through the process of mounting and installing your CD player in your car. This crucial step ensures that your CD player is securely fastened and stable, providing you with uninterrupted enjoyment of your favorite music while driving.
Choosing the appropriate mounting method for your CD player
Before diving into the installation process, it’s important to choose the right mounting method for your CD player. The mounting method you select will depend on your car’s dashboard design and the specific CD player you are installing.
To assist you in making this decision, we have provided a comparison table below:
| Mounting Method | Advantages | Disadvantages |
|---|---|---|
| Dashboard Installation |
|
|
| Mounting Bracket Installation |
|
|
Consider these advantages and disadvantages when selecting the mounting method that suits your preferences and car requirements. Once you have made your decision, you can proceed with the installation process.
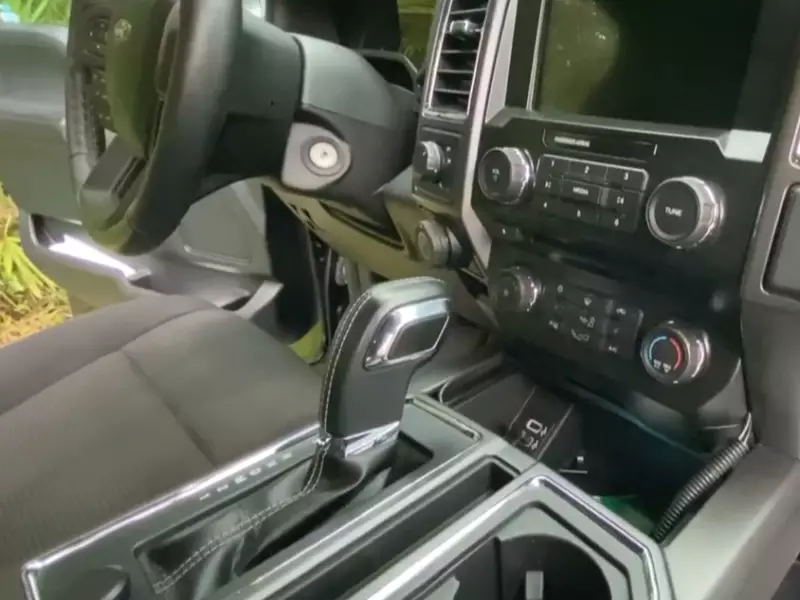
Installing the CD player into the dashboard or a mounting bracket
The next step in the installation process is to either install the CD player directly into the dashboard or onto a mounting bracket. If you have chosen the dashboard installation method, follow these steps:
- Locate an appropriate space on the dashboard for installation.
- Measure the dimensions of the CD player and mark the mounting location on the dashboard.
- Using a screwdriver or appropriate tools, carefully remove any panels or components obstructing the installation area.
- Align the CD player with the mounting location and secure it firmly.
- Tighten any screws or bolts to ensure the CD player is securely fastened.
If you have opted for the mounting bracket installation method, follow these steps:
- Attach the mounting bracket to the dashboard using the provided screws or clips.
- Ensure the bracket is securely fastened, with no wobbling or movement.
- Place the CD player onto the mounting bracket, aligning the necessary holes.
- Use the provided screws or brackets to fasten the CD player to the mounting bracket.
Properly securing the CD player and ensuring it is stable
Once the CD player is mounted, it is essential to ensure that it is properly secured and stable. Follow these steps to ensure the stability of your CD player:
- Check for any loose parts or connections. Tighten them if necessary.
- Test the CD player by gently tapping it to confirm that it does not move or wobble.
- Try to insert and remove a CD to ensure there is no interference or misalignment.
By following these steps, you can be confident that your CD player is securely mounted, stable, and ready to provide you with endless hours of musical enjoyment during your drives.
Testing And Troubleshooting
After successfully installing the CD player in your car, the next crucial step is to test and troubleshoot any potential issues. This step is essential to ensure that everything is functioning properly before hitting the road.
Reconnecting the car battery and turning on the CD player
Start by reconnecting the car battery using the following steps:
- Open the car hood: Locate the lever inside your car that allows you to open the hood, usually located near the driver’s seat or under the steering wheel.
- Locate the car battery: Identify the location of the car battery, which is usually situated in the engine compartment.
- Disconnect the negative terminal: Use a wrench or pliers to loosen the bolt on the negative (black) cable connected to the car battery. Once loose, gently lift the cable off the terminal.
- Disconnect the positive terminal: Repeat the same process for the positive (red) cable.
- Reconnect the positive terminal: Carefully place the positive cable back onto the positive terminal and tighten the bolt.
- Reconnect the negative terminal: Repeat the process for the negative cable, ensuring both cables are securely tightened.
Once the car battery is reconnected, you can now turn on the CD player:
- Power on the CD player: Locate the power button on the CD player, usually labeled with a power symbol or the manufacturer’s logo. Press and hold the button until the display lights up, indicating that the CD player is receiving power.
- Check for display lights: If the display doesn’t light up, double-check the wiring connections and ensure that the car battery is properly connected.
Testing the functionality of the CD player
After turning on the CD player, it’s time to test its functionality:
- Insert a CD: Carefully insert a CD into the CD player, ensuring that it slides in smoothly.
- Playback test: Press the play button to test the audio playback. Listen for clear and crisp sound coming from the car speakers. If there is no sound, proceed to the troubleshooting section below.
- Volume and controls: Adjust the volume using the built-in volume controls on the CD player. Test other controls such as skip forward, skip backward, and track selection to ensure they are functioning properly.
Troubleshooting common issues
If you encounter any issues with your newly installed CD player, here are a few common problems and their possible solutions:
| Issue | Solution |
|---|---|
| No sound from speakers |
|
| No display on the CD player |
|
By troubleshooting these common issues, you can resolve most problems with your CD player efficiently.
Finally, adjust the settings and audio quality of the CD player to enhance your listening experience:
- Equalizer settings: Explore the different equalizer presets available on your CD player to customize the audio output to your preferences.
- Bass and treble adjustments: Tweak the bass and treble levels to achieve the desired audio quality.
With these testing, troubleshooting, and audio adjustments, you can now enjoy your favorite music on the newly installed CD player in your car!
Finalizing The Installation
Securing any loose wires or cables
Once you have successfully connected the CD player to the car’s electrical system and audio components, it is essential to secure any loose wires or cables to ensure a clean and neat installation. This is crucial for maintaining the optimal functionality of your new CD player while preventing any potential hazards.
Start by carefully organizing and bundling the wires together using zip ties or cable organizers. This will prevent them from tangling or interfering with the car’s other systems.
Next, secure the wires along the car’s existing wiring harness or under the dashboard using adhesive clips or tape. Make sure to avoid placing them near any moving parts or sharp edges.
Once all the wires are securely fastened, double-check their connections to ensure everything is properly attached. A loose wire can lead to intermittent audio or electrical issues, which can be frustrating to troubleshoot later on.
By taking the time to secure any loose wires or cables, you’ll not only ensure a tidy installation but also minimize the risk of any potential malfunctions or safety hazards in the future.
Reassembling the dashboard and restoring the car’s interior
With the CD player successfully installed and all the necessary connections secured, it’s time to reassemble the dashboard and restore the car’s interior. This step will not only give your car a polished look but also protect the CD player and other components from damage.
Begin by carefully placing any removed panels or trims back into their original positions. Take note of any screws or clips that may be required for each panel, ensuring a snug fit.
If you encountered any challenges during the installation that required cutting or modifying the dashboard, make sure to address them appropriately. Use sandpaper or a file to smooth any rough edges, ensuring a seamless integration.
Once the dashboard panels are in place, double-check that all the buttons, knobs, and switches are functioning correctly. Take the time to test each component of the car’s interior thoroughly, verifying that the CD player installation hasn’t affected any existing functions.
By reassembling the dashboard and restoring the car’s interior carefully, you’ll create a professional-looking installation that seamlessly blends with your car’s overall design.
Checking the CD player’s compatibility with other car features, such as steering wheel controls
Before concluding the CD player installation, it is crucial to check its compatibility with other car features, especially if your vehicle is equipped with steering wheel controls.
Consult the CD player’s user manual to determine whether it supports steering wheel control integration. If it does, follow the manufacturer’s instructions to properly connect and configure the controls.
If the CD player does not support steering wheel control integration, you may need to explore additional options or consider investing in a separate adapter. These adapters can often be purchased separately and allow you to retain the functionality of your car’s steering wheel controls.
Ensure that the steering wheel controls work smoothly and accurately with the newly installed CD player. Test each button to verify that it corresponds to the correct action on the player, such as adjusting the volume or changing tracks.
By checking the CD player’s compatibility with other car features, such as steering wheel controls, you’ll enjoy the convenience and ease of use that these integrated functionalities bring.
Enjoying your newly installed CD player in your car
With the CD player installation finalized, it’s time to sit back and enjoy your favorite tunes during your drive. Whether it’s a road trip or a short commute, having a CD player in your car opens up a world of entertainment possibilities.
Ensure that the CD player is functioning correctly by testing various CDs or audio files. Take note of the audio quality, the player’s responsiveness, and any additional features, such as Bluetooth connectivity or USB ports, that enhance your music experience.
Take advantage of the player’s settings and customizations to personalize your audio preferences. Adjust the equalizer settings, fine-tune the audio balance, or explore any additional audio enhancements provided by the CD player.
Lastly, enjoy the convenience and pleasure of having your favorite music available at your fingertips, making those long drives more enjoyable and memorable.
Expert Tips And Recommendations
Installing a CD player in your car can greatly enhance your driving experience, whether you’re a music lover or enjoy listening to audiobooks on the go. However, it’s important to approach the installation process with care and attention to detail to ensure a seamless and functional integration into your vehicle’s audio system. In this section, we will provide you with expert tips and recommendations to help you install a CD player in your car like a pro.
Considering additional features like Bluetooth connectivity or USB ports
When choosing a CD player for your car, it’s worth considering additional features that can enhance its functionality. Features like Bluetooth connectivity allow you to wirelessly connect your smartphone or other devices to the CD player, making it easy to stream music or take hands-free calls while driving. Similarly, CD players with USB ports offer the convenience of connecting external storage devices to play audio files or charge your devices.
These features can greatly enhance your driving experience and make your CD player even more versatile. So, keep an eye out for CD players that offer these additional features when making your purchase.
Researching and consulting experts or online forums for specific car models
Each car model can have its unique quirks and requirements when it comes to installing a CD player. To ensure a smooth installation process and compatibility with your car’s audio system, it’s recommended to do thorough research or consult experts.
Experts in car audio systems or online forums dedicated to car modifications can provide valuable insights and recommendations based on your specific car model. They can guide you in choosing the right CD player that seamlessly integrates with your car’s existing audio system and offers tips on the installation process.
Understanding the warranty and return policies of CD players
Before finalizing your purchase, it’s important to understand the warranty and return policies of the CD player you intend to buy. This ensures that you are protected in case of any unforeseen issues or malfunctions with the CD player. Check if the manufacturer offers a warranty on the product and familiarize yourself with the terms and conditions.
Additionally, make sure you are aware of the return policy of the retailer from whom you are making the purchase. This will give you peace of mind and the assurance that you have options in case you encounter any problems with the CD player after installation.
Regularly maintaining and cleaning the CD player for longevity
To ensure the longevity and optimal performance of your CD player, regular maintenance and cleaning are crucial. Dust and debris can accumulate over time and affect the player’s functionality. To prevent this, make sure to clean the CD player regularly using a soft, lint-free cloth.
Avoid using any harsh chemicals or abrasive materials that can damage the player. Additionally, consider investing in a lens cleaning kit specifically designed for CD players to keep the laser lens clean and free from dirt or smudges. By taking good care of your CD player, you can enjoy uninterrupted music playback for years to come.
Frequently Asked Questions Of How To Install A CD Player In A Car
Can You Add A CD player To Your Car?
Yes, you can add a CD player to your car. It is a simple process that can be done by a professional installer. Adding a CD player allows you to enjoy your favorite music CDs while driving.
Can You Put A CD player In A Car That Doesn’t Have One?
Yes, you can add a CD player to a car that doesn’t have one. It’s a straightforward process that involves purchasing a compatible CD player and installing it in your vehicle. This allows you to enjoy your favorite CDs while driving.
What Can I Use If I Don’t Have A CD Player In My Car?
You can use alternative devices like USB drives, Bluetooth, or auxiliary cables to play music in your car if you don’t have a CD player.
What Is The Best Portable CD Player For A Car?
The best portable CD player for a car is the Sony CDX-G1210U. It offers a compact design and convenient features like USB and AUX inputs, allowing you to connect your portable devices. Its high-quality sound and user-friendly interface make it an excellent choice for car audio enthusiasts.
Conclusion
Installing a CD player in your car doesn’t have to be a daunting task. By following this step-by-step guide, you can easily enjoy your favorite tunes wherever you go. Remember to gather the necessary tools, disconnect the battery, and carefully follow the instructions provided by the manufacturer.
With patience and attention to detail, you’ll be listening to your favorite CDs in no time. So, why wait? Get started on enhancing your car’s audio system today.