To install a backup camera to a Pioneer, you need to follow these steps. First, locate the wiring harness on the back of the head unit.
Then, connect the camera’s power and video cables to the corresponding inputs on the wiring harness. Finally, mount the camera on your vehicle and test it to ensure it’s working properly. Adding a backup camera to your Pioneer car stereo can greatly enhance your driving experience by providing an extra layer of safety and convenience.
With a backup camera, you can easily see what’s behind you, making backing up and parking much easier and safer. Whether you’re a beginner or an experienced DIYer, installing a backup camera to a Pioneer stereo is a relatively simple process that can be completed in just a few steps.
We’ll guide you through the installation process, so you can enjoy the benefits of a backup camera in no time.
Choose The Right Backup Camera
Factors to consider when selecting a compatible backup camera
Choosing the right backup camera for your Pioneer system is crucial to ensure maximum compatibility and functionality. There are several factors to consider when making this decision. Here are some key factors:
- Camera Type: The first thing to consider is the type of backup camera. There are various options available, including license plate cameras, flush-mount cameras, and wireless cameras. Each type has its own advantages and disadvantages, so it is important to choose one that suits your specific needs.
- Image Quality: The image quality of the camera is a crucial factor to consider. Look for a backup camera that offers high-resolution imaging and clear visibility, even in low-light conditions. A camera with a wide-angle lens can also provide a better field of view.
- Waterproof Rating: Since the backup camera will be exposed to the elements, it is important to choose one with a high waterproof rating. Look for cameras that have an IP67 or higher rating, ensuring that they are fully sealed and can withstand rain and moisture.
- Night Vision: If you often drive at night or in dimly lit areas, consider choosing a backup camera with night vision capabilities. These cameras are equipped with infrared LEDs that provide enhanced visibility in the dark, allowing you to park or reverse with confidence.
- Compatibility: Last but not least, make sure the backup camera you choose is compatible with your Pioneer system. Check the specifications and ensure that the camera uses the same connectivity options (e.g. RCA or HDMI) and is compatible with your specific model.
Types of backup cameras available in the market
The market offers a wide range of backup camera options to suit different needs and preferences. Here are some of the types of backup cameras you can find:
- License Plate Cameras: These cameras are designed to replace the license plate frame and provide a discreet mounting option. They generally offer a wide field of view and are easy to install.
- Flush-Mount Cameras: Flush-mount cameras are installed directly into the bumper or body of the vehicle. They provide a clean, sleek look and are often favored for their aesthetic appeal.
- Wireless Cameras: As the name suggests, wireless backup cameras do not require any physical connection to the head unit. They use wireless technology to transmit the video signal to the display. These cameras are easy to install and offer flexibility in terms of placement.
- Multi-Camera Systems: Multi-camera systems consist of multiple cameras that can be installed at different locations on the vehicle. These systems allow you to switch between camera views, providing a comprehensive perspective for safer parking and maneuvering.
Recommended backup cameras for use with Pioneer systems
When it comes to choosing a backup camera that works seamlessly with Pioneer systems, there are a few models that are highly recommended by experts and users alike. Here are some of the top picks:
| Backup Camera Model | Features |
|---|---|
| Brand A Rear View Camera | High-resolution imaging, wide-angle lens, night vision capabilities, waterproof rating of IP68, RCA connectivity. |
| Brand B License Plate Camera | Easy installation, wide field of view, high waterproof rating, RCA connectivity, compatible with Pioneer systems. |
| Brand C Wireless Backup Camera | Wireless transmission, clear image quality, night vision capabilities, IP67 waterproof rating, compatible with Pioneer systems. |
These backup cameras are known for their reliability, compatibility, and advanced features, making them ideal choices for Pioneer systems. Remember to check the specifications and choose a camera that suits your specific requirements and budget.
Gather The Necessary Tools And Materials
Before you begin the installation process for your Pioneer backup camera, it’s important to gather all the necessary tools and materials. This will ensure that you have everything you need to complete the installation smoothly and without any hiccups. In this section, we will discuss the essential tools required for the installation process, the additional materials needed for a successful installation, and provide some tips for organizing and preparing your work area.
Essential tools required for the installation process
Here are the essential tools you will need to install the backup camera to your Pioneer:
- Power drill
- Wire stripper
- Heat shrink tubing
- Soldering iron
- Electrical tape
- Socket set
- Wiring harness
- Trim removal tool
These tools are crucial for various steps during the installation process, such as drilling holes, stripping wires, soldering connections, and removing trim panels.
Additional materials needed for a successful installation
In addition to the essential tools, you will also need the following materials to ensure a successful installation:
- Pioneer backup camera kit
- Camera extension cable
- Mounting brackets
- Screws and nuts
- Zip ties
- Electrical connectors
- Camera trigger wire
These materials are essential for connecting the backup camera to your Pioneer head unit, mounting it securely, and ensuring proper functionality.
Tips for organizing and preparing the work area
Before you start the installation, it’s important to organize and prepare your work area. This will not only make the process more efficient but also help prevent any accidental damage to your vehicle or the equipment. Here are a few tips:
- Clear the work area of any unnecessary tools or equipment to avoid clutter.
- Ensure there is adequate lighting for better visibility during the installation.
- Keep a small container or tray handy to hold small screws and nuts to prevent them from getting lost.
- Label the wires and connectors to make it easier to identify and connect them correctly.
- Use zip ties to secure the wiring and prevent it from interfering with other components.
- Double-check the vehicle’s manual or consult online resources to locate the specific areas where you need to work.
By following these tips, you can create a well-organized and prepared work area, which will help make the installation process smoother and more efficient.
Prepare The Vehicle For Installation
Before installing a backup camera to your Pioneer system, it’s important to prepare your vehicle for the installation process. This involves following proper safety precautions, locating a suitable mounting position for the camera, and preparing the vehicle for wiring and cable routing.
Safety Precautions to Observe Before Starting the Installation
Safety should always be the top priority when working on any vehicle installation. Here are some important precautions to observe:
- Disconnect the vehicle’s battery to avoid any electrical mishaps.
- Wear appropriate safety gear, such as gloves and goggles, to protect yourself from potential hazards.
- Park your vehicle on a flat surface and engage the parking brake.
- Refer to your vehicle’s manual to locate any potential obstacles or hidden wires that may interfere with the installation process.
Locating a Suitable Mounting Position for the Backup Camera
Choosing the right position for the backup camera is crucial in ensuring optimal visibility. Here are some tips to help you find a suitable mounting spot:
- Look for a location that provides a clear and unobstructed view of the rear area of your vehicle.
- Consider mounting the camera near the license plate or on the rear bumper for a wide-angle view.
- Ensure the mounting position allows for easy access to the camera’s wiring and cable routing.
Take into account the specific requirements and recommendations provided by the manufacturer of your Pioneer backup camera for the best results.
Preparing the Vehicle for Wiring and Cable Routing
Once you’ve chosen the mounting position for the backup camera, it’s time to prepare the vehicle for wiring and cable routing. Follow these steps:
- Identify the appropriate entry point for the camera’s wiring. This is typically located near the rear of the vehicle, such as through the trunk or tailgate.
- Ensure there is enough clearance and space to route the wiring without any obstruction or damage.
- Use cable clips or adhesive cable holders to secure the wiring along the vehicle’s interior panels or frame.
- Avoid routing the wiring near any moving parts or hot areas to prevent potential damage.
By properly preparing the vehicle for wiring and cable routing, you can ensure a clean and efficient installation process for your Pioneer backup camera.
Connect The Backup Camera To The Pioneer System
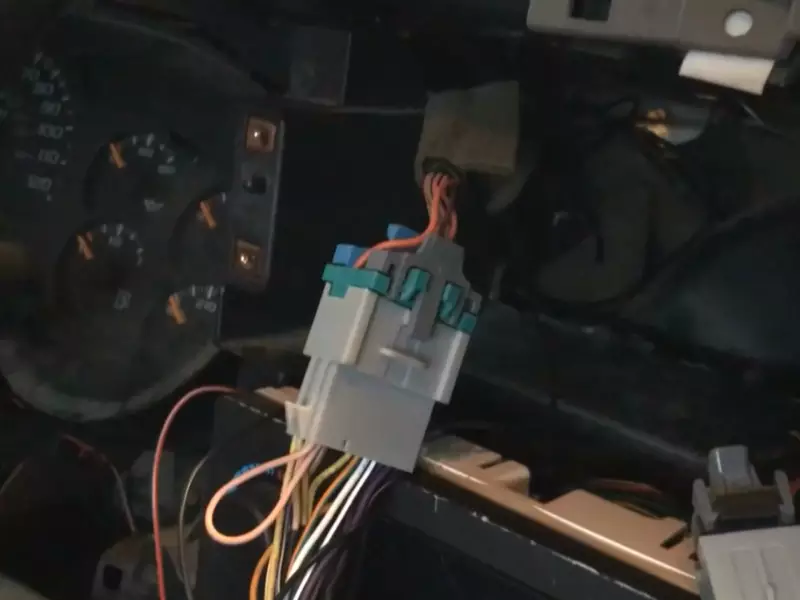
Identifying the necessary connections on the Pioneer system
Before connecting your backup camera to your Pioneer system, it is important to identify the necessary connections on the Pioneer unit. The connections may vary depending on the specific model of your Pioneer system, so it’s crucial to consult the user manual or the manufacturer’s website for the correct information. Typically, you will need to locate the video input and power supply connections on the Pioneer unit.
Here are a few steps to identify the necessary connections:
- Refer to the user manual or manufacturer’s website for the specific Pioneer model you are using.
- Locate the video input connection. This is usually labeled as “RCA input” or “AV input”. Check if there are multiple inputs and make a note of the correct one.
- Identify the power supply connection for the camera. This connection is typically labeled as “12V” or “Camera Power”.
Properly connecting the camera to the system
Once you have identified the necessary connections on the Pioneer system, it’s time to connect the backup camera to the system. Follow these step-by-step instructions:
- Take the RCA video cable provided with your backup camera and connect one end to the video input connection on the Pioneer unit.
- Locate the power supply connection on the Pioneer unit and connect the power cable from the backup camera. Ensure a secure connection.
- Double-check that both the video and power connections are firmly attached to the Pioneer system.
- If your Pioneer unit has additional settings or adjustments for the backup camera, consult the user manual for specific instructions on how to configure them.
Securing the camera’s wiring and ensuring a reliable connection
After connecting the camera to the Pioneer system, it’s important to secure the camera’s wiring and ensure a reliable connection. This will help ensure the longevity and proper functioning of your backup camera. Here are a few tips to follow:
- Secure the camera’s wiring using zip ties or adhesive clips to prevent any loose or dangling wires.
- If necessary, route the wiring through the vehicle’s interior panels or trim to keep it hidden and protected.
- Make sure there are no sharp edges or moving parts near the camera’s wiring that could potentially damage or cut the wires.
- Test the backup camera functionality by turning on your Pioneer system and engaging the reverse gear. Check if the camera’s video feed appears on the screen without any interruptions.
By properly connecting and securing the backup camera’s wiring, you can ensure a reliable and clear video feed to assist you while reversing your vehicle. Take the time to double-check all the connections and make any necessary adjustments to achieve the best possible setup.
Mount And Install The Backup Camera
Mounting and installing a backup camera is an important step in improving your vehicle’s safety and convenience. A backup camera can provide you with a clear view of what is behind your vehicle, helping you to avoid accidents and maneuver with ease. In this section, we will guide you through the step-by-step process of mounting the camera on your vehicle, adjusting its angle for optimal visibility, and securing it to ensure proper installation.
Step-by-step instructions for mounting the camera on the vehicle
To mount the backup camera on your vehicle, follow these simple steps:
- Choose the desired location for the camera on the rear of your vehicle. It is important to find a spot that provides a clear view and does not obstruct the license plate or any other important features.
- Ensure that the surface where you will be mounting the camera is clean and dry. This will help the camera to adhere properly.
- Peel the adhesive backing off the mounting bracket included with your backup camera and firmly press it against the chosen location.
- Apply pressure to the mounting bracket for a few seconds, allowing the adhesive to bond securely.
- Attach the camera to the mounting bracket and adjust its position as necessary.
Adjusting the camera’s angle for optimal visibility
Properly adjusting the camera’s angle is crucial to ensure optimal visibility. Follow these steps to get the best view:
- Test the camera’s view on your vehicle’s display unit. Take note of any blind spots or areas that need adjustment.
- Loosen the screws on the camera’s mounting bracket to allow for adjustments.
- Adjust the camera’s angle up, down, left, or right to eliminate blind spots and achieve optimal visibility.
- Tighten the screws on the mounting bracket to secure the camera in its adjusted position.
Securing the camera and checking for proper installation
Securing the camera properly is essential to ensure it remains in place and functions effectively. Here’s what you need to do:
- Double-check all the connections between the camera and the wiring harness, ensuring they are securely plugged in.
- Use zip ties or tape to secure the wiring along the vehicle’s body, preventing it from dangling or becoming a distraction.
- Perform a quick functionality test by engaging the reverse gear and checking if the camera provides a clear and reliable feed on your display unit.
- Adjust the camera if necessary to fix any visibility or alignment issues.
By following these step-by-step instructions, you can easily mount and install a backup camera to your Pioneer, enhancing your driving experience and ensuring greater safety for yourself and those around you.
Route And Connect The Camera’S Wiring
Route and Connect the Camera’s Wiring
Installing a backup camera to your Pioneer system is an excellent way to enhance your driving experience and increase safety on the road. Once you have chosen the perfect camera for your needs, the next step is to route and connect the camera’s wiring. This crucial step ensures that the camera functions properly and provides you with clear visibility while reversing. In this section, we will discuss valuable tips for routing the camera’s wiring through your vehicle, connecting the camera to the system’s power source, and testing the camera’s functionality before finalizing the wiring.
Tips for routing the camera’s wiring through the vehicle
When it comes to routing the camera’s wiring through your vehicle, it is essential to carefully plan the path to ensure a clean and secure installation. Here are a few helpful tips to consider during this process:
- Start by identifying the most suitable route for the camera’s wiring. Look for existing wiring harnesses or access points that can be used to safely guide the wires.
- Take into account potential obstacles or areas of high heat or moisture that may require additional protection for the wiring.
- Secure the wiring using zip ties or adhesive clips to keep it neatly in place and prevent any interference with other vehicle components.
- When passing the wiring through panels or openings, consider using grommets or protective conduit to prevent any damage to the wires.
- Ensure that the wiring is neatly hidden and out of sight to maintain the aesthetics of your vehicle’s interior.
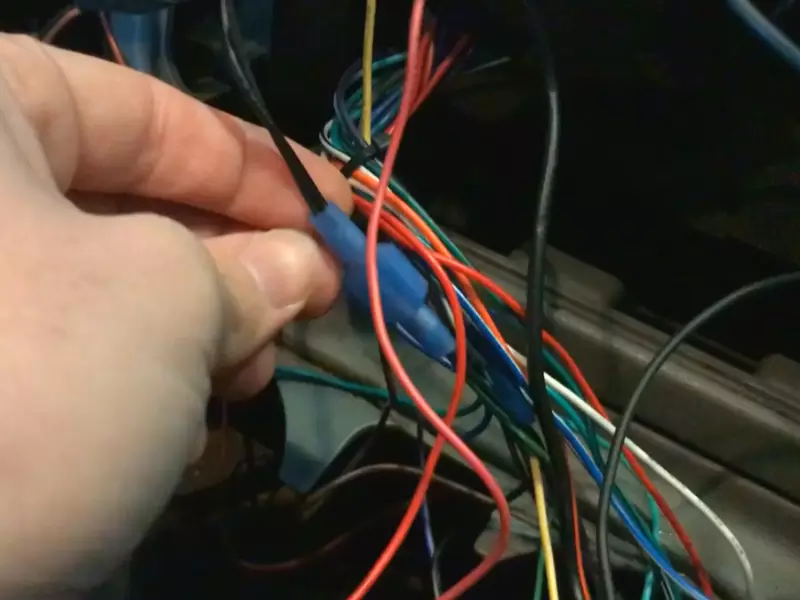
Connecting the camera to the system’s power source
Once you have routed the camera’s wiring through your vehicle, the next step is to connect it to the system’s power source. Follow these steps to ensure a secure and reliable connection:
- Identify the appropriate power source for the camera. This can be the reverse light circuit or a dedicated power supply connection in your vehicle.
- Carefully strip the ends of the camera’s wiring and the corresponding power source wires.
- Twist the exposed ends of the camera’s wiring with the matching power source wires.
- Secure the connections with electrical tape or heat shrink tubing to provide insulation and protect against any potential short circuits.
- Double-check the connections to ensure they are secure and free from any loose or exposed wires.
Testing the camera’s functionality before finalizing the wiring
It is crucial to test the camera’s functionality before finalizing the wiring to ensure it works correctly with your Pioneer system. Follow these steps to perform a thorough test:
- Ensure that the Pioneer system is turned on and in the appropriate mode for the camera input.
- Engage the vehicle’s reverse gear to activate the backup camera system.
- Verify that the camera’s video feed is displayed on the Pioneer system’s screen. Check for any visual issues such as blurred images or distorted colors.
- If the camera does not function correctly, double-check the wiring connections and power source to troubleshoot any potential issues.
- Make any necessary adjustments or repairs to the wiring or connections, ensuring everything is securely in place.
By following these tips for routing the camera’s wiring, connecting it to the system’s power source, and testing its functionality before finalizing the wiring, you can ensure a successful installation of your backup camera to your Pioneer system. Remember to take your time during this process to guarantee a neat and reliable installation that will provide you with enhanced visibility and safety while reversing.
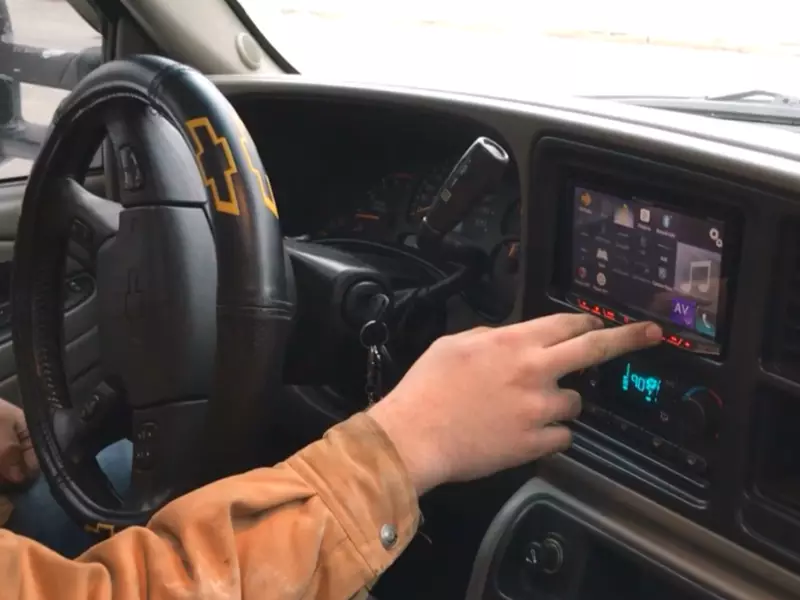
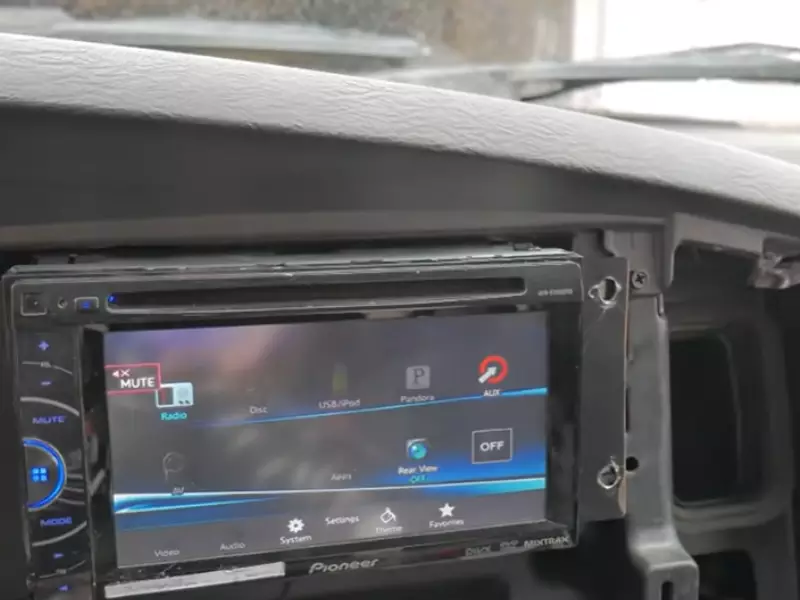
Configure The Pioneer System For Backup Camera Use
When it comes to installing a backup camera to your Pioneer system, one crucial step is configuring the system to enable the backup camera feature. This ensures that your camera will work seamlessly with the Pioneer system, allowing you to have a clear view of what’s behind your vehicle. In this section, we will walk you through the process of accessing the Pioneer system’s settings menu, enabling the backup camera feature, and adjusting the settings for optimal camera display and functionality.
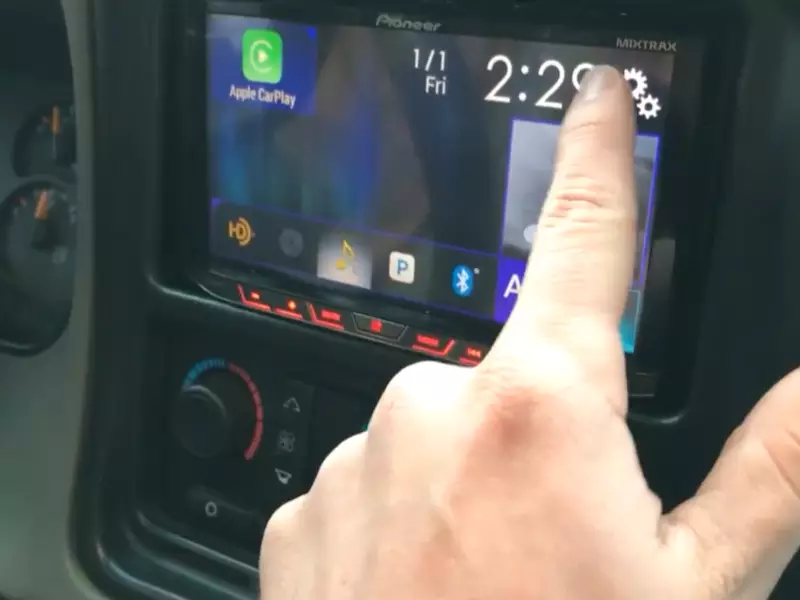
Accessing the Pioneer System’s Settings Menu
In order to configure your Pioneer system for backup camera use, you need to access the settings menu of the system. Here’s how you can do it:
- Turn on your Pioneer system by pressing the power button.
- Tap on the “Settings” icon, which is usually represented by a gear or a toolbox.
- Once you are in the settings menu, look for the “Camera” or “Rear View Camera” option. The location may vary depending on the specific Pioneer model you have.
- Click on the “Camera” or “Rear View Camera” option to access the camera settings.
Enabling the Backup Camera Feature on the System
Once you have accessed the camera settings, the next step is to enable the backup camera feature on your Pioneer system. Follow these steps to do so:
- Locate the “Enable” or “On” option within the camera settings menu.
- Toggle the switch or click on the checkbox to enable the backup camera feature.
- Confirm your selection by saving the changes. This can usually be done by tapping on the “Save” or “Apply” button on the screen.
Adjusting Settings for Optimal Camera Display and Functionality
After enabling the backup camera feature on your Pioneer system, it’s essential to adjust the settings for optimal camera display and functionality. Consider the following settings to enhance your backup camera experience:
- Brightness: Adjust the brightness level to ensure a clear view of the camera display. Set it to a level that suits your preferences and provides good visibility in various lighting conditions.
- Contrast: Modify the contrast settings to enhance the distinction between different objects in the camera’s field of view. A well-adjusted contrast level can improve the overall clarity of the camera display.
- Guidelines: Many Pioneer systems offer the ability to display guidelines on the camera screen to assist with parking and maneuvering. Enable or disable these guidelines based on your preference and ease of use.
- Mirror Image: Pioneer systems typically provide a mirror image setting, which horizontally flips the camera display to match the view in a rearview mirror. Adjust this setting to match your preference and ensure a more natural viewing experience.
By adjusting these settings, you can optimize the backup camera display on your Pioneer system, providing a clear and accurate view of your surroundings while reversing or parking.
Test And Fine-Tune The Backup Camera
After successfully installing your Pioneer backup camera, it’s important to test and fine-tune its performance to ensure optimum visibility and effectiveness. This step-by-step guide will walk you through testing the camera’s performance, fine-tuning its angle and visibility, and troubleshooting common issues to maximize its effectiveness.
Step-by-step instructions for testing the camera’s performance
Once the backup camera is installed, follow these steps to test its performance:
- Start by turning on your vehicle’s ignition and engaging the camera’s display on your Pioneer head unit.
- Put your vehicle in reverse and observe the camera’s feed on the display.
- Check if the camera provides a clear, sharp image of the rear view. If the picture is blurry or distorted, proceed to the next section for fine-tuning instructions.
- Ensure that the camera’s field of view covers the desired area behind your vehicle.
- Observe the camera’s performance in different lighting conditions, such as during both day and night. Note any visibility issues or distortions that may need adjustment.
Fine-tuning the camera’s angle and visibility
If you need to fine-tune the camera’s angle or visibility, follow these steps:
- Locate the camera’s mounting bracket and adjust it accordingly to change the camera’s angle.
- Test the camera’s feed on the display after each adjustment to assess the impact on visibility.
- If necessary, repeat the adjustment process until you achieve the desired angle and visibility.
Troubleshooting common issues and maximizing camera effectiveness
To maximize the effectiveness of your Pioneer backup camera and address common issues, consider the following tips:
| Issue | Troubleshooting Tips |
| Blurry or distorted image | Check for any obstructions on the camera lens and clean it if necessary. Ensure the camera is securely mounted and adjust its angle if needed. |
| Insufficient visibility at night | Ensure your vehicle’s reverse lights are working correctly and provide sufficient illumination. Adjust the camera’s contrast and brightness settings as needed. |
| Poor quality in low-light conditions | Consider upgrading to a camera model with infrared or night vision capabilities. |
| Interference or static in the camera feed | Check for any loose connections and ensure all wiring is properly insulated. Keep the camera’s wires away from any power or audio cables that may cause interference. |
By following these steps, you can test, fine-tune, and troubleshoot your Pioneer backup camera to ensure optimal performance and maximize its effectiveness. Enjoy the added convenience and safety that a backup camera provides during your daily drives!
Maintain And Care For The Backup Camera
In order to ensure the longevity and optimal performance of your Pioneer backup camera, it’s important to establish a regular maintenance routine and take necessary care. By following a few simple tasks, you can keep your backup camera in excellent condition and ensure it consistently provides you with clear and reliable visuals when you need them the most. In this guide, we will discuss the regular maintenance tasks to ensure the camera’s longevity, cleaning and protecting the camera from environmental factors, and periodic inspections and potential replacements.
Regular maintenance tasks to ensure the camera’s longevity:
Regular maintenance is crucial for keeping your backup camera in top-notch condition. By incorporating these essential tasks into your routine, you can extend the lifespan of your camera and prevent potential issues from arising.
- Check the camera’s wiring connections to ensure they are secure and free from corrosion. Loose connections or corrosion can lead to malfunctioning or unreliable camera performance.
- Inspect the camera lens for any signs of dirt, debris, or condensation. Clean the lens using a soft cloth or lens cleaner to maintain clear visuals.
- Monitor the camera’s image quality regularly. If you notice any degradation in image clarity or color accuracy, it may indicate a need for adjustment or further maintenance.
- Keep an eye on the camera’s mounting hardware to ensure it remains stable and secure. Tighten any loose screws or bolts as necessary.
Cleaning and protecting the camera from environmental factors:
The environment can take a toll on your backup camera if not properly protected. Dust, rainwater, extreme temperatures, and other external factors can negatively affect its performance. By following these steps, you can keep your camera clean and shielded from potential damage caused by environmental elements:
- Regularly wipe down the camera’s housing with a soft cloth to remove any accumulated dust or dirt. This will help prevent these particles from obstructing the camera’s lens and reducing image quality.
- Apply a thin layer of protective coating or wax to the camera’s housing to safeguard it against scratches and UV damage.
- Consider using a waterproof camera housing or cover to shield the camera from water and moisture, especially if you live in an area with high rainfall.
- During extreme weather conditions, such as intense heat or freezing temperatures, avoid exposing the camera to these elements for prolonged periods. Extreme temperatures can cause damage to the camera’s internal components.
Periodic inspections and potential replacements:
Even with regular maintenance, there may come a time when your backup camera requires inspection or replacement. By staying proactive and identifying potential issues early on, you can prevent complete camera failure and ensure its continued functionality:
- Perform visual inspections of the camera’s wiring and connections. Look for any signs of wear and tear, frayed wires, or loose connections. Address these issues promptly to avoid further damage.
- Test the camera’s functionality regularly, especially after any significant impacts, to confirm proper operation.
- If you experience consistent problems with image quality or camera performance, consider consulting a professional technician for further diagnostics and potential replacement.
- Keep track of the camera’s warranty and take advantage of it if necessary. Depending on the brand and model, the camera may be covered under warranty, allowing for repair or replacement.
By implementing these regular maintenance tasks, cleaning and protecting the camera, as well as conducting periodic inspections, you can ensure your Pioneer backup camera remains in optimal working condition for years to come. Your investment in maintaining your camera will not only provide you with reliable visuals but also enhance your overall driving experience.
Final Thoughts And Recommendations
Installing a backup camera to your Pioneer system can significantly enhance your driving experience and improve your safety on the road. In this final section, we will highlight the benefits of installing a backup camera, recap the installation process and its importance, and provide recommendations for additional features or accessories that can further enhance your backup camera system.
Highlighting the Benefits of Installing a Backup Camera
Installing a backup camera brings a plethora of benefits that make it a worthwhile addition to your Pioneer system. Let’s take a look at some of the key advantages:
- Enhanced Safety: The most significant benefit of a backup camera is the added safety it provides. By offering a clear view of your surroundings, the camera helps to eliminate blind spots and assists you in detecting any obstacles or pedestrians that may be behind your vehicle.
- Prevention of Accidents: With a backup camera, you can avoid potentially dangerous accidents while reversing. It eliminates the guesswork, ensuring that you have a clear view of what’s happening behind your vehicle and greatly reducing the risk of collisions.
- Ease of Parking: Parallel parking or maneuvering into tight spaces can be challenging for many drivers. A backup camera makes these tasks easier and less stressful by providing a visual guide, allowing for more accurate parking and reducing the chances of accidental scrapes or bumps.
- Increased Confidence: Installing a backup camera gives you the confidence to navigate various driving situations more effectively. It enables you to make better judgments and decisions while reversing, ensuring a smoother driving experience overall.
- Value Enhancement: Adding a backup camera to your Pioneer system can potentially increase the value of your vehicle. As backup cameras become increasingly common and expected in modern vehicles, having this technology installed can make your vehicle more attractive to potential buyers in the future.
Recap of the Installation Process and Its Importance
Installing a backup camera to your Pioneer system is a relatively straightforward process that can be completed in a few steps. Here’s a recap of the installation process:
- Choose the Right Camera: Research and select a backup camera that is compatible with your Pioneer system. Consider factors such as resolution, viewing angle, and night vision capabilities for optimal performance.
- Locate a Suitable Mounting Spot: Find a suitable location for mounting the camera at the rear of your vehicle. Ensure it provides a clear and unobstructed view.
- Connect the Camera: Connect the camera to the rear of your Pioneer system. Follow the manufacturer’s instructions and use the provided wiring harnesses for a secure and proper connection.
- Calibrate and Adjust: Adjust the camera angle and calibrate any settings as needed to ensure the best view and image quality.
Recommended Additional Features or Accessories for an Enhanced Backup Camera System
To further enhance your backup camera system, you might consider adding these recommended features or accessories:
- Wireless Transmitter and Receiver: Opt for a wireless transmitter and receiver system to eliminate wiring hassles and simplify the installation process.
- Multi-View Display: Upgrade your Pioneer system to include a multi-view display feature that allows you to switch between different camera angles, providing a comprehensive view of your surroundings.
- Guidelines and Distance Markers: Look for a backup camera system that includes guidelines and distance markers on the display. These visual aids can assist you in judging distances and aligning your vehicle accurately.
- Night Vision: If you often drive during nighttime or low-light conditions, consider a backup camera with night vision capabilities. This feature enhances visibility and ensures a clear view even in the darkest environments.
Frequently Asked Questions For How To Install A Backup Camera To A Pioneer
Can You Install A Backup Camera Yourself?
Yes, it is possible to install a backup camera on your own.
Is It Possible To Add A Backup Camera To An Old Car?
Yes, it is possible to add a backup camera to an old car. You can install an aftermarket backup camera system that connects to your car’s dashboard display or rearview mirror.
What Do I Connect The Reverse Wire To?
Connect the reverse wire to the reverse gear signal wire of your vehicle. This wire sends a signal to the stereo unit when the vehicle is in reverse, enabling the display of the rearview camera feed.
How Do You Wire A Backup Camera On A Pickup?
To wire a backup camera on a pickup:
- Locate the reverse light wire in the pickup’s wiring harness.
- Connect the camera’s power wire to the reverse light wire.
- Find a suitable ground connection for the camera’s ground wire.
- Connect the camera’s video wire to the display unit’s video input.
- Test the camera to ensure it’s functioning properly.
Conclusion
To sum up, installing a backup camera to a Pioneer is an excellent way to enhance your driving experience. It not only improves safety by providing a clear view of your surroundings but also makes parking and maneuvering much easier.
By following the step-by-step guide in this blog post, you can confidently install a backup camera and enjoy its benefits. Upgrade your car today and drive with confidence!